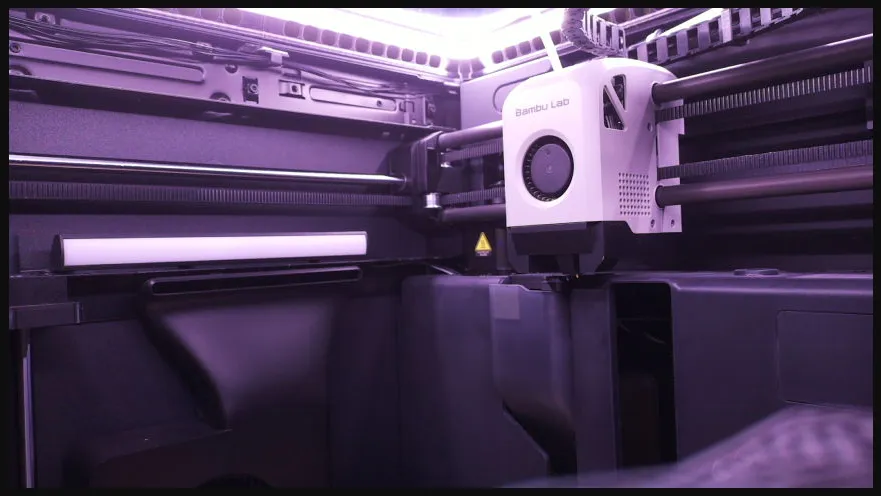
Bambu Lab P1S Camera Upgrade
Practical guide to upgrading the Bambu Lab P1S chamber camera using a Raspberry Pi Camera Module 3 and a Pi Zero 2 W. Covers mount options, hardware setup, GPU memory tuning, compiling camera-streamer, and exposing an MJPEG stream for OctoPrint/Obico.
Introduction
One of my biggest annoyances with the Bambu Lab P1S 3D printer is the low quality chamber camera. The problem is the machine controller board is (apparently) based on ESP32 and simply does not have the performance required for anything more than just time-lapse clips and live view at 0.5 FPS. So an in-place replacement upgrade is not an option.
Like many others I initially tried to work around this using an external camera, in my case I used a TP-Link Tapo C100 as this camera has a local RTSP server which can be enabled and does not rely on the Cloud, however it is a bit big and bulky and gets in the way when working in or around the printer.
Camera Options
I started looking into alternative camera options and the Raspberry Pi Camera Module 3 with its 12 megapixels and up to 50 fps it was an immediate go-to. My only concern (which has so far not proven to be an issue) was the operating temperature of 0°C to 50°C (as per the datasheet). However the vast majority of my prints are PLA or PETG so the chamber doesn’t get too warm but it is something to consider if you are using other materials.
The Raspberry Pi cameras give you the choice of the standard lens or the wide lens, the field of view being 66 degrees vs 102 degrees, the videos below will give you a better real-world idea:
Standard Lens
Wide Lens
Personally I went with the standard lens. I tend to print small to medium prints so I did not feel the need for the wider view. If you print bigger things like cosplay helmets you may benefit from the wider lens view.
Camera Mount
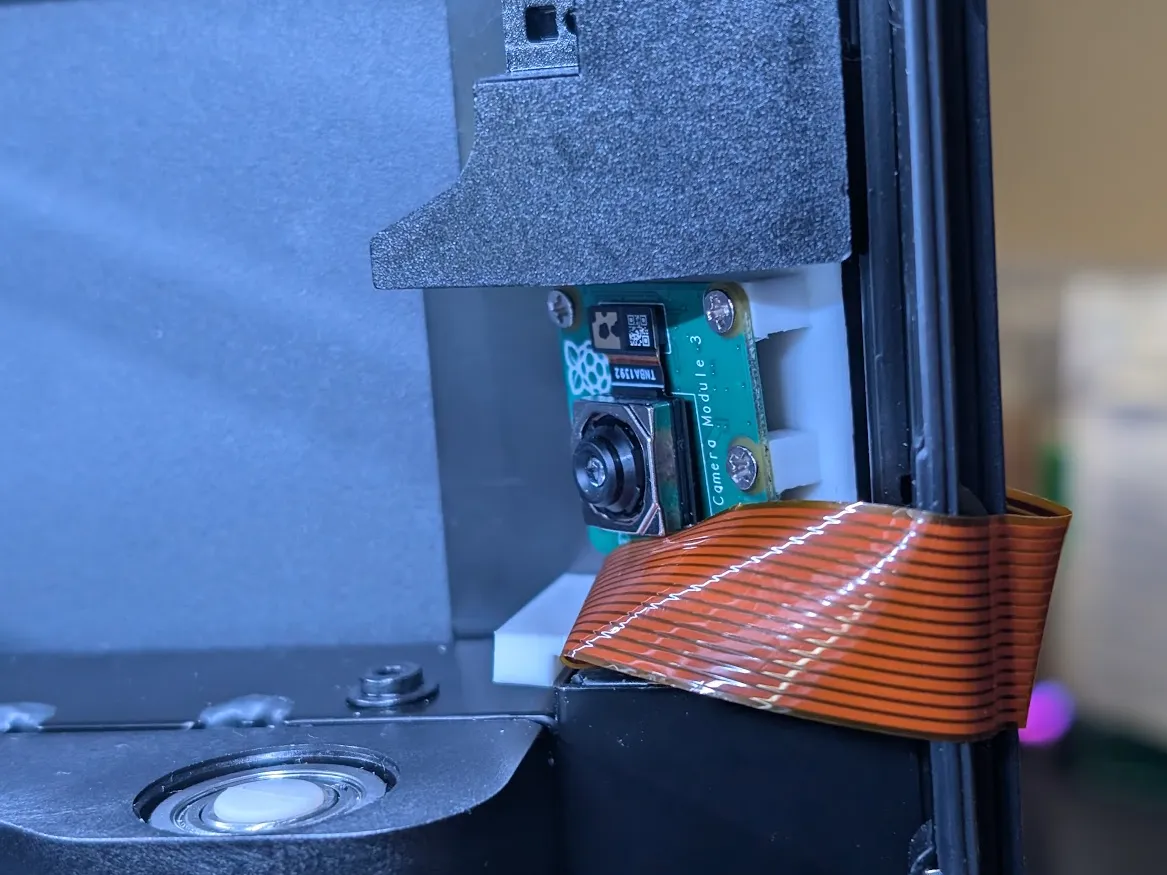
Both the standard and wide lens camera modules use the same mounting layout. To start with I used this mount, however the camera is mounted in the portrait orientation and after many failed attempts to rotate the camera in software I decided it was just easier to remix the design and have it mounted in landscape orientation instead.
I printed my mount in PETG and have had no problems with warping.
Raspberry Pi Choices
I used the Raspberry Pi Zero 2 W as I wanted something small (and I had one spare). My only comment is the Pi Zero 2 can get a bit slow, I’ve had a Radxa Zero 3W sitting on my desk for months as a potential replacement, but that will be a separate blog post when (if) I get time…
Additional Hardware
The only additional hardware required is the appropriate FFC (Flat Flexible Cable). If you are using a full-sized Raspberry Pi with the standard size CSI (Camera Serial Interface) connector you need the 15-pin FFC. If you are using a Raspberry Pi Zero 2 W (like me) with the smaller CSI connector you need the 22-pin FFC, sometimes referred to as Raspberry Pi Zero Camera Adapter. Lengthwise, I went with 300 mm.
Bill of Materials
- Raspberry Pi Zero 2 W
- Raspberry Pi Camera Module 3 Standard/Wide
- 15‑pin or 22‑pin FFC by 300mm
- Pi Zero Case
- 3M Command Strips
- M2 x 5mm Screws
Hardware Installation
From memory I used M2 x 5mm screws to attach the camera to the mount. The mount itself is friction-fit into the printer. It is intentionally a tight fit to ensure it does not vibrate loose mid-print. You will need to fold the flex cable 90 degrees so it can exit out the front of the case, take care not to damage the traces on the cable.
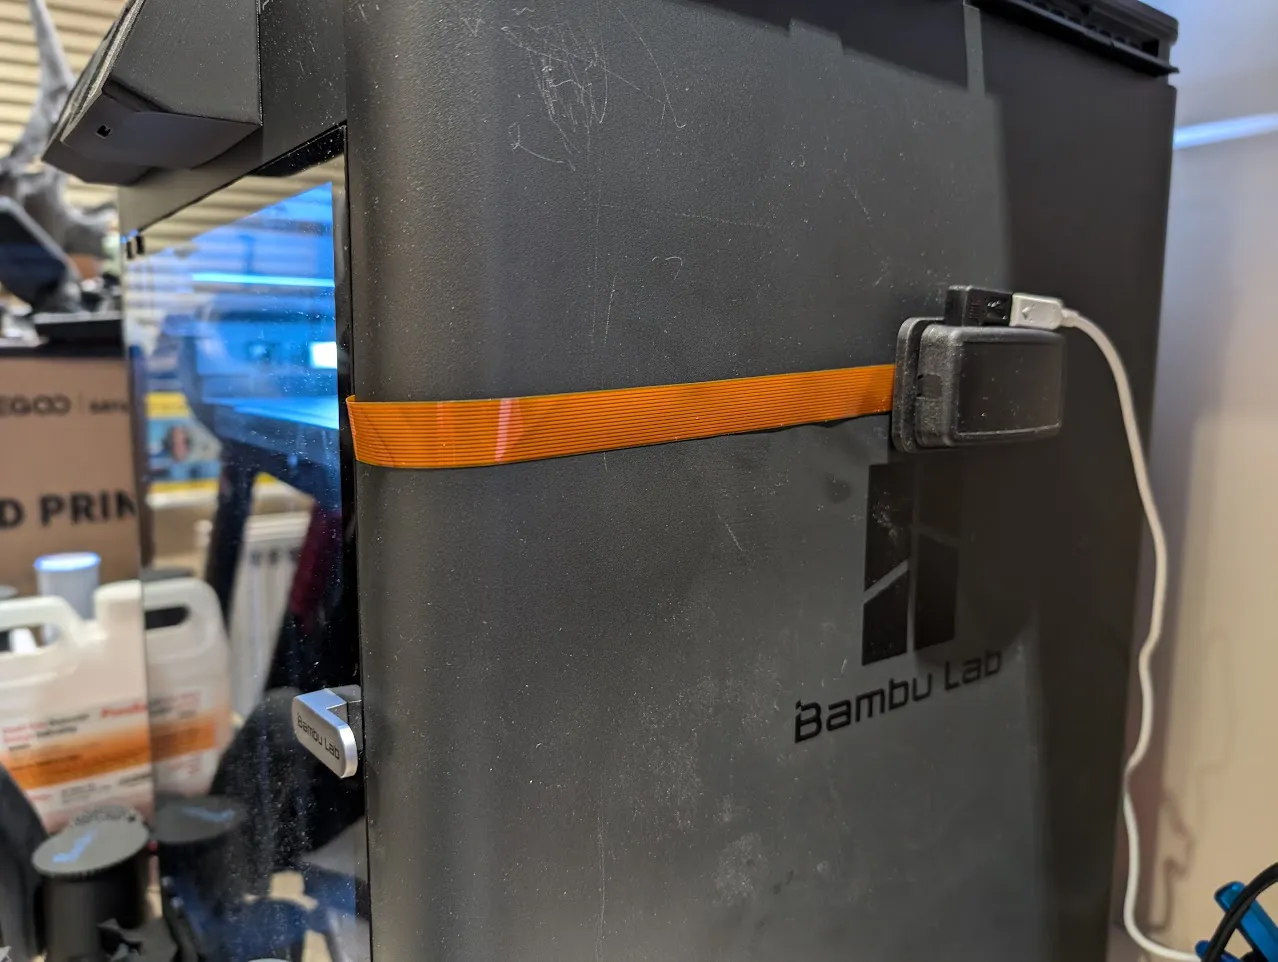
The Pi Zero I installed in a UniPiCase Pi Zero Case which I then attached to the side of my P1S using 3M Command Strips.
Configuring the Raspberry Pi
For the operating system I used Raspberry Pi OS Lite (64-bit), which is based on Debian 12 (Bookworm). I flashed it to a 64 GB microSD card using the official Raspberry Pi Imager app.
Once booted up first thing to do is to update the OS with the latest patches:
1
2
sudo apt update
sudo apt full-upgrade -y
Once complete, reboot.
Bookworm and later should automatically detect the camera and load the relevant dtoverlay.
We can confirm the camera has been detected:
1
2
3
4
5
6
7
8
admin@geekhome:~ $ dmesg | grep imx
[    0.043449] /soc/csi@7e801000: Fixed dependency cycle(s) with /soc/i2c0mux/i2c@1/imx708@1a
[    0.043574] /soc/i2c0mux/i2c@1/imx708@1a: Fixed dependency cycle(s) with /soc/csi@7e801000
[    0.045497] /soc/csi@7e801000: Fixed dependency cycle(s) with /soc/i2c0mux/i2c@1/imx708@1a
[    0.047412] /soc/i2c0mux/i2c@1/imx708@1a: Fixed dependency cycle(s) with /soc/csi@7e801000
[    7.345919] /soc/csi@7e801000: Fixed dependency cycle(s) with /soc/i2c0mux/i2c@1/imx708@1a
[    7.346018] /soc/i2c0mux/i2c@1/imx708@1a: Fixed dependency cycle(s) with /soc/csi@7e801000
[    9.196153] imx708 10-001a: camera module ID 0x0301
This confirms the Camera Module 3 (IMX708) is talking to the Pi and the correct driver is loaded. You can ignore the Fixed dependency cycle(s) lines, they are harmless.
Why Camera-Streamer?
My bigger goal was to add spaghetti detection via Obico which uses an MJPEG camera stream from OctoPrint. It is a bit of a complicated setup (which I will document in a separate blog post) but it adds much needed missing functionality for cheap and does not rely on the cloud.
Adjusting Memory
The camera-streamer documentation advises to adjust GPU memory for JPEG re-encoding:
1
sudo nano /boot/firmware/config.txt
Change: dtoverlay=vc4-kms-v3d
To: dtoverlay=vc4-kms-v3d,cma-128
Add this near the top (before any section headers):
1
2
3
# Give the GPU enough RAM for JPEG re-encoding used by camera-streamer
# Start with 160; if you hit "out of resources", bump to 192. If RAM is tight, try 128.
gpu_mem=160
Once complete, reboot.
Compiling camera-streamer
I found using the precompiled binaries for camera-streamer to be unreliable, so instead we can compile them ourselves:
1
sudo apt install git
We will download and compile camera-streamer source code, I checked out the latest release (0.3.0 at the time of writing):
The compile time is slow on the Raspberry Pi Zero 2 W, so grab a coffee and wait.
1
2
3
4
5
6
git clone https://github.com/ayufan/camera-streamer.git --recursive
cd camera-streamer/
git checkout v0.3.0
sudo apt install build-essential cmake libavcodec-dev libavformat-dev libavutil-dev libcamera-dev liblivemedia-dev libssl-dev pkg-config v4l-utils xxd
make
sudo make install
Once successfully compiled we can now enable the camera-streamer service so it starts on boot:
If you used a different camera you will need to copy the relevant service file from the service folder.
1
2
3
4
sudo cp ./service/camera-streamer-raspi-v3-12MP.service /etc/systemd/system/camera-streamer.service
sudo systemctl daemon-reload
sudo systemctl enable camera-streamer.service
sudo systemctl start camera-streamer.service
We can then confirm the camera-streamer service has started successfully:
1
2
3
4
5
6
7
8
9
admin@geekhome:~/camera-streamer $ sudo systemctl status camera-streamer.service
● camera-streamer.service - camera-streamer web camera for Pi Camera Module 3 12MP on Raspberry PI
     Loaded: loaded (/etc/systemd/system/camera-streamer.service; enabled; preset: enabled)
     Active: active (running) since Sat 2025-08-30 09:37:59 BST; 11s ago
   Main PID: 2525 (camera-streamer)
      Tasks: 16 (limit: 178)
        CPU: 627ms
     CGroup: /system.slice/camera-streamer.service
             └─2525 /usr/local/bin/camera-streamer --camera-path=/base/soc/i2c0mux/i2c@1/imx708@1a --camera-type=libcamera --camera-format=YUYV --camera-width=2304 --camera-height=1296 --camera-fps=30 --camera-nbufs=2 --camera-snapshot.>
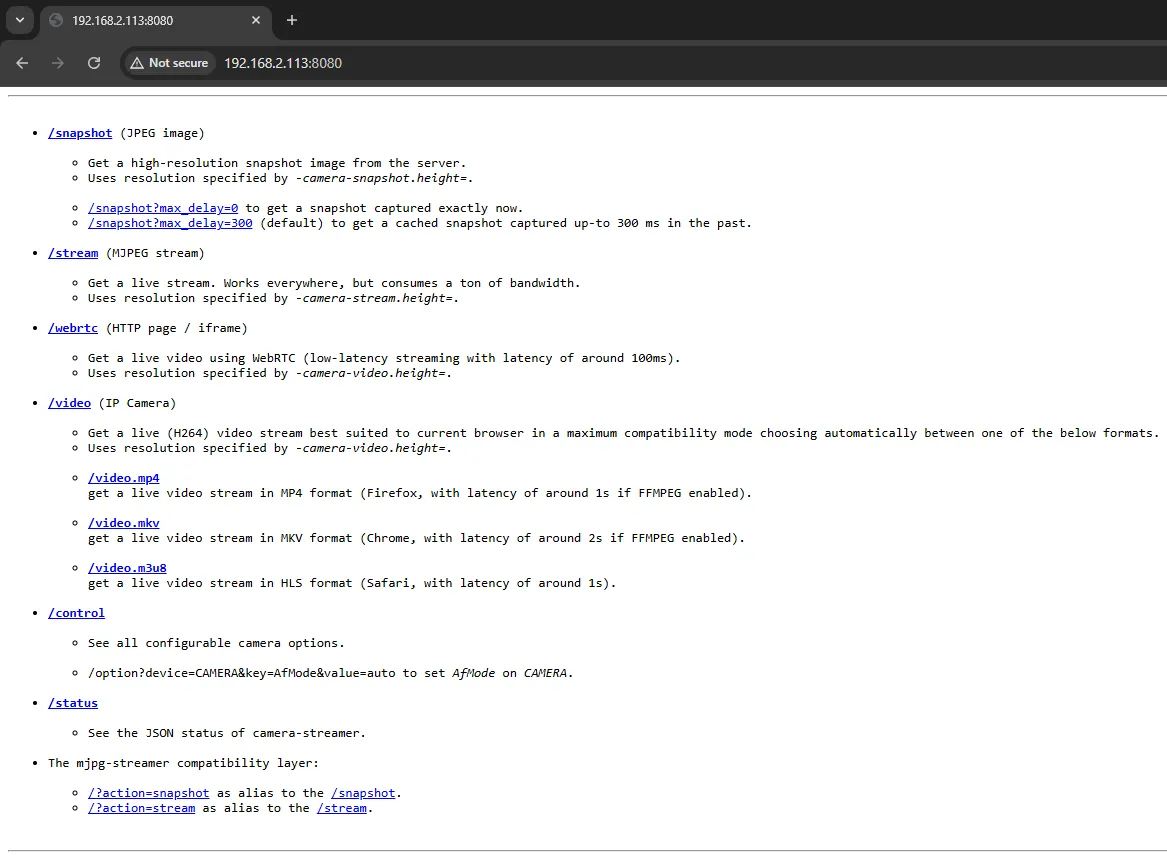
Now you should find the web interface is up and running on port 8080:
Example stream:
