How To: Flash the Sonoff S26 with Tasmota firmware
Comprehensive guide to flashing the Sonoff S26 smart plug with Tasmota firmware. Includes step-by-step instructions, hardware teardown, soldering tips, and configuration for secure, cloud-free smart home automation.
Introduction
One of the most popular hardware hacks is flashing the custom Sonoff-Tasmota firmware to the ever popular Sonoff line of products. This firmware removes any links to the Cloud and add features such as MQTT support.
The Sonoff S26 smart plug supports various countries plug styles (UK, US, AU, CN, EU(F), and EU(E)) and can be purchased for under £10. In this article we will be using the UK variant.
Overview
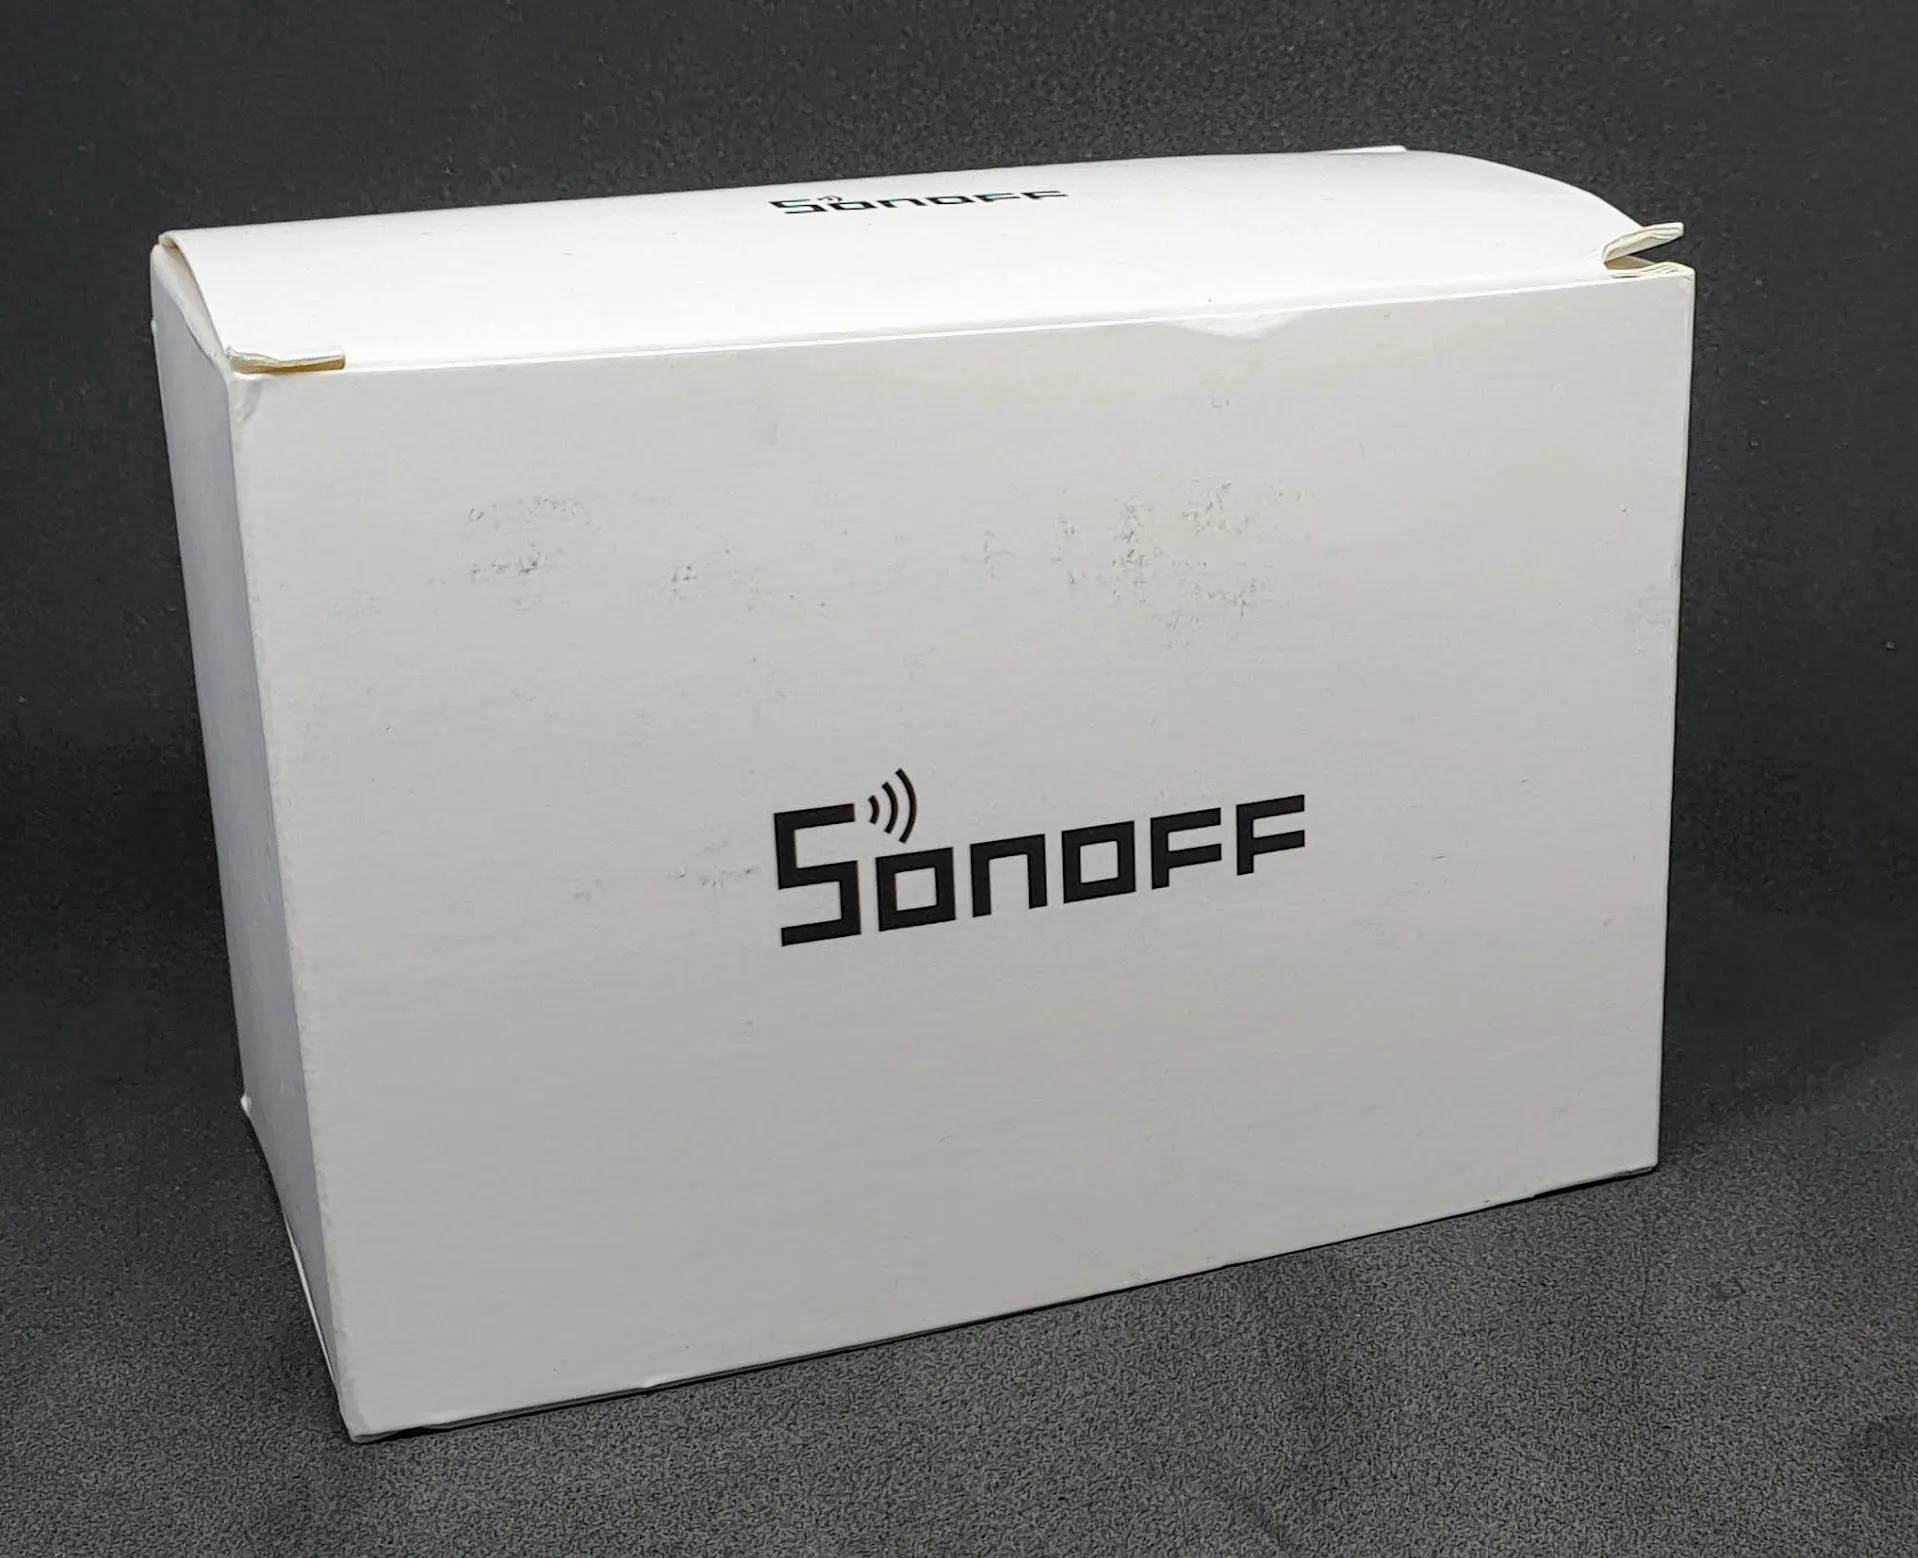
The S26 comes in a plain box which includes the plug itself and instructions on how to use the original firmware.
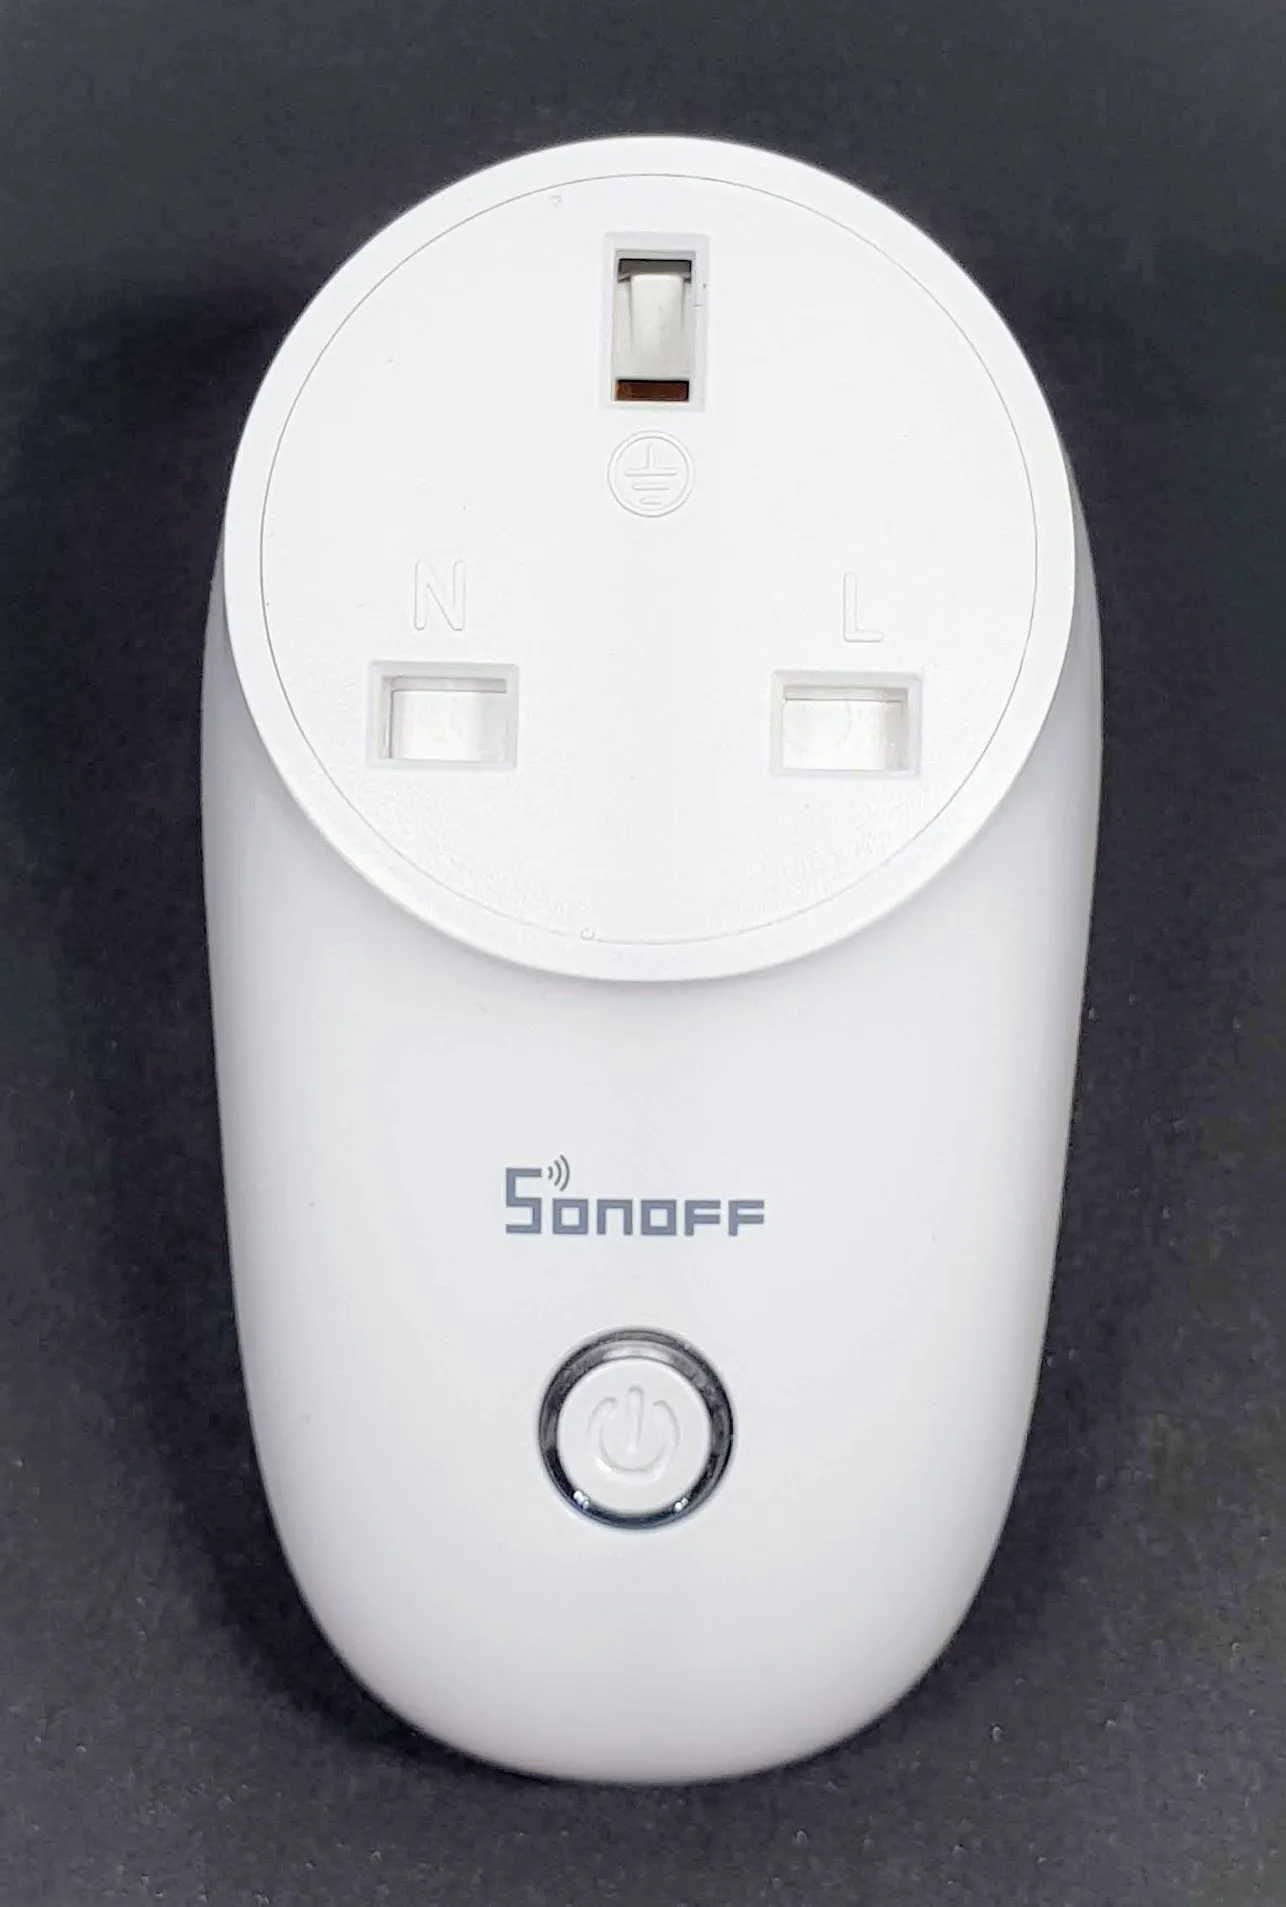
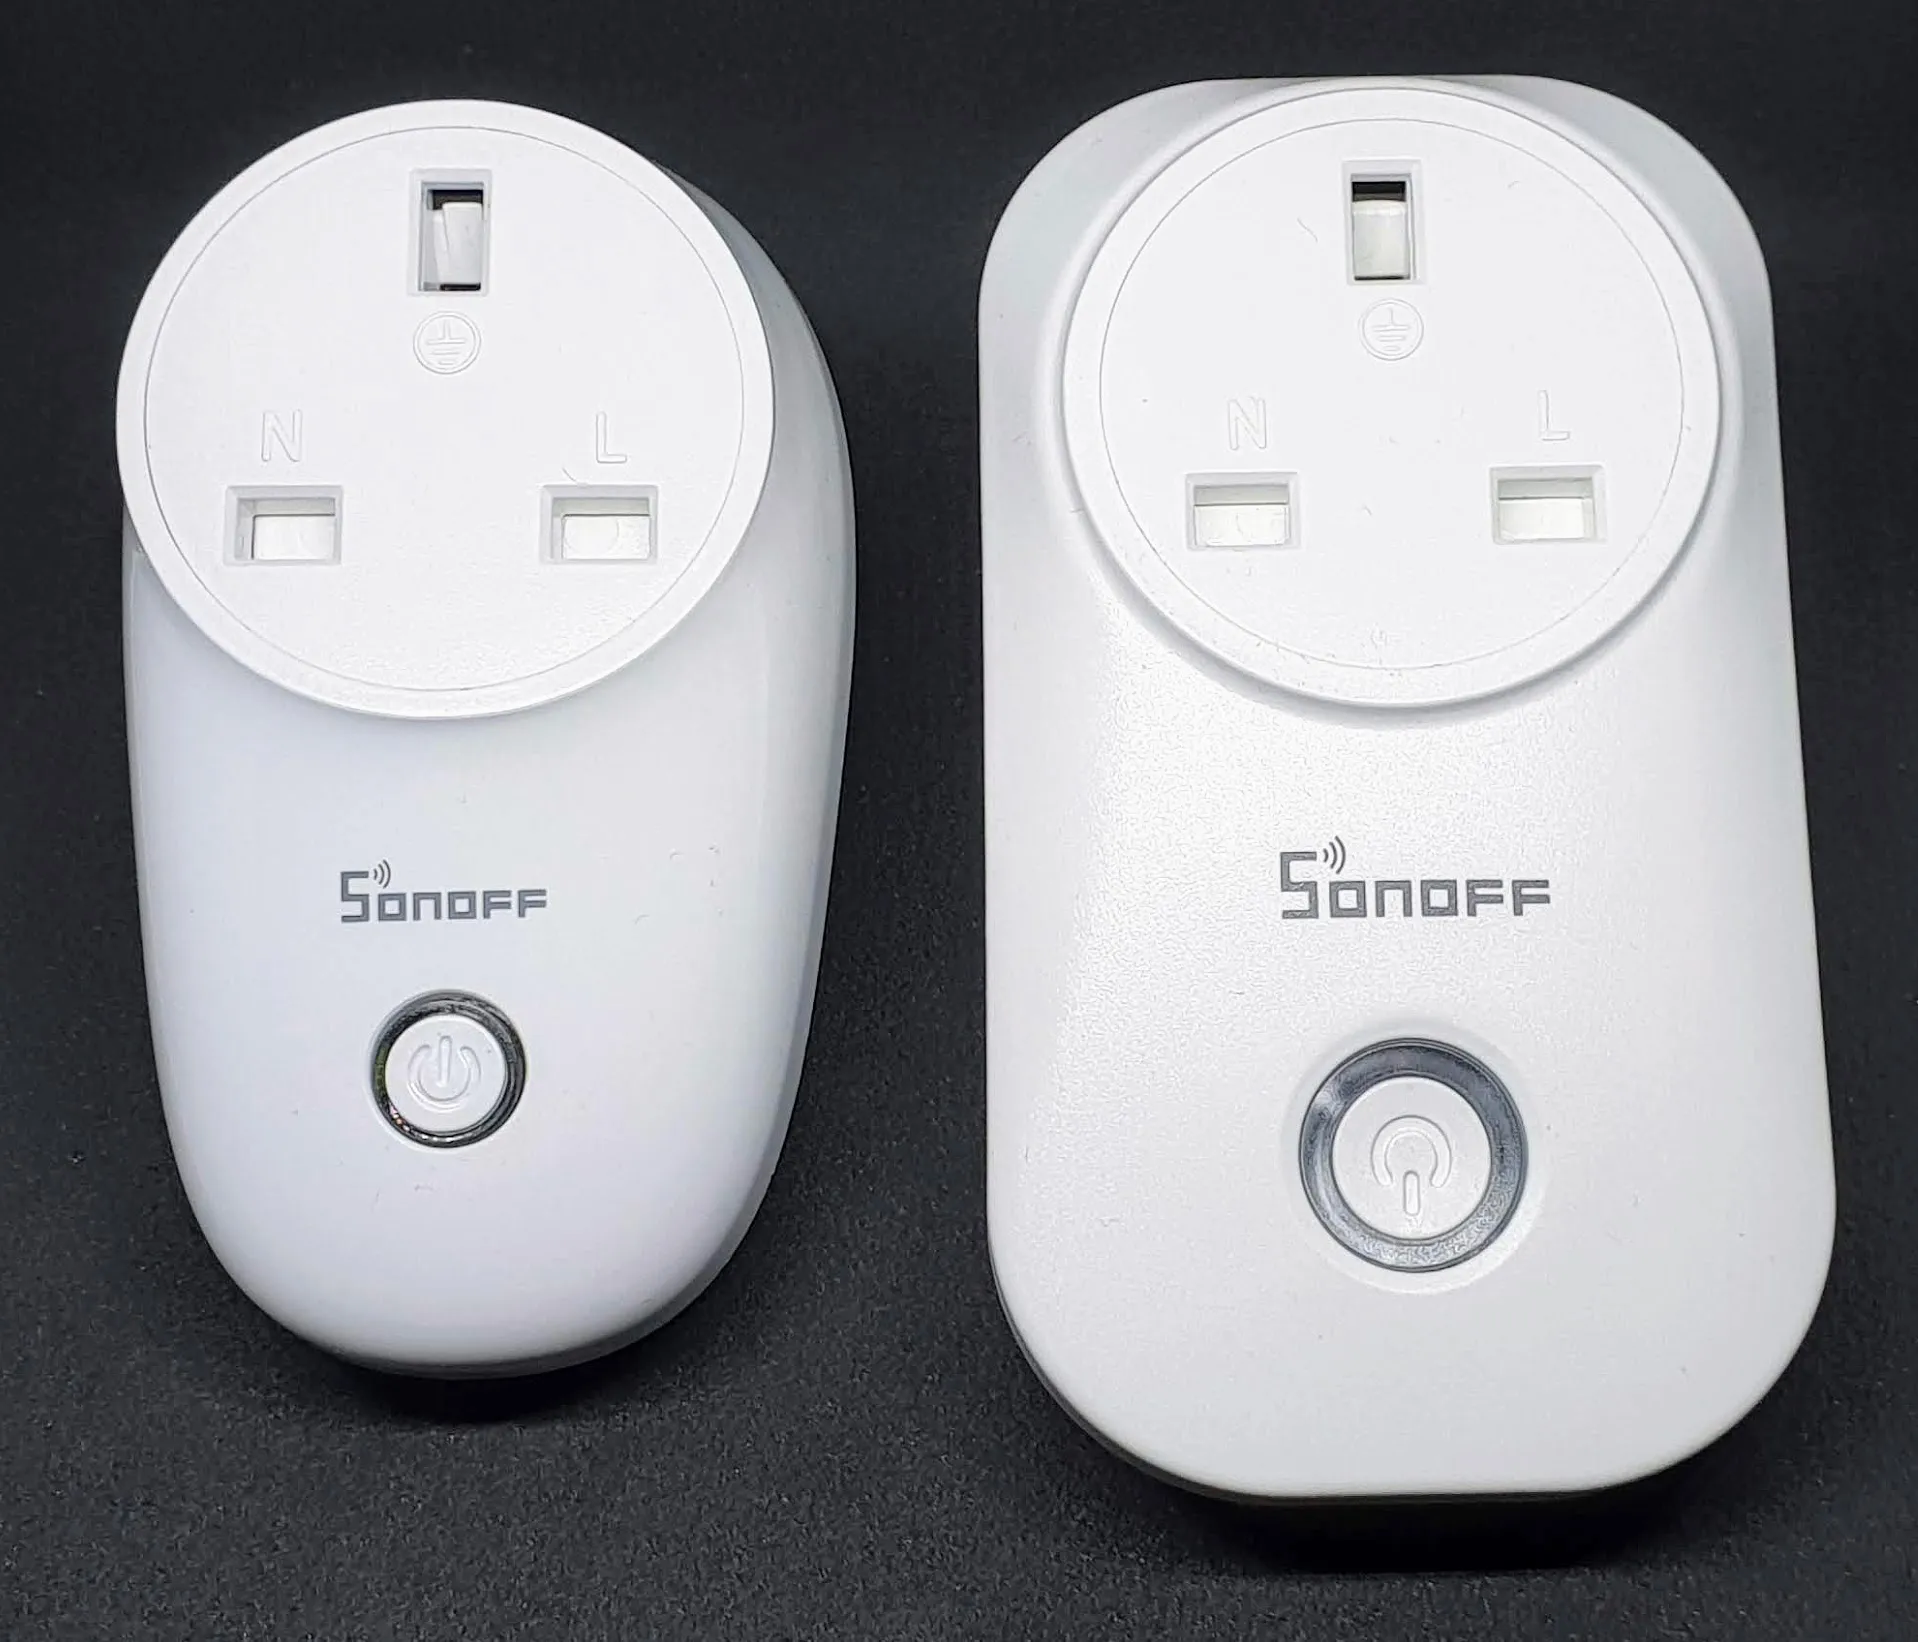
The S26 has a button to manually turn the plug on and off. It also includes a LED ring which indicates WiFi connectivity and whether it is powered on or off.
In comparison to the older Sonoff S20 model, the S26 is slightly smaller in overall size which help if you are plugging it into an extension lead, however the S26 is more difficult to flash because you have to solder to PCB pads instead of through hole connectors (more on this below).
Flashing Tasmota
Ensure the plug is not connected to mains power during disassembly or flashing firmware.
To flash the Sonoff Tasmota firmware to the S26 we need to open the plug and solder some connectors.
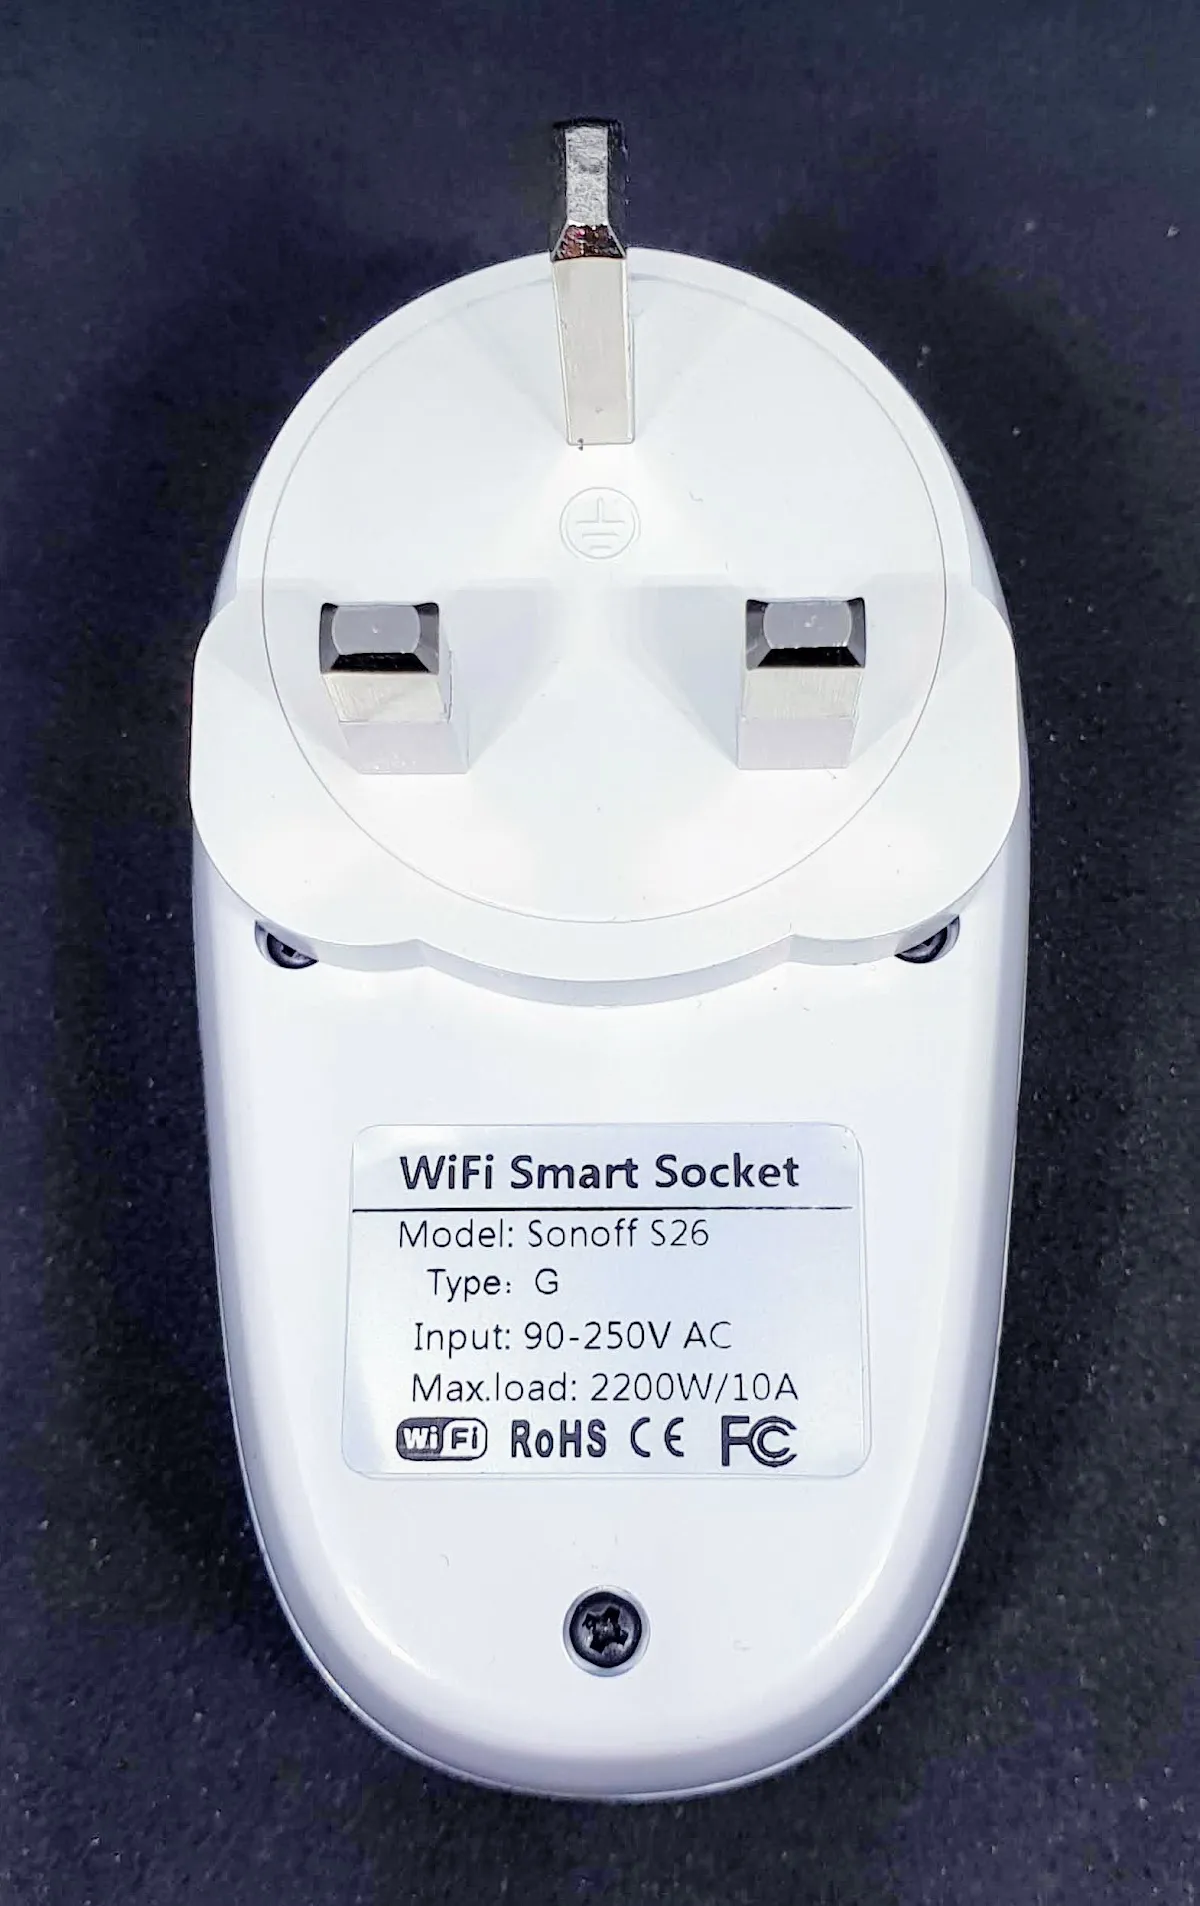
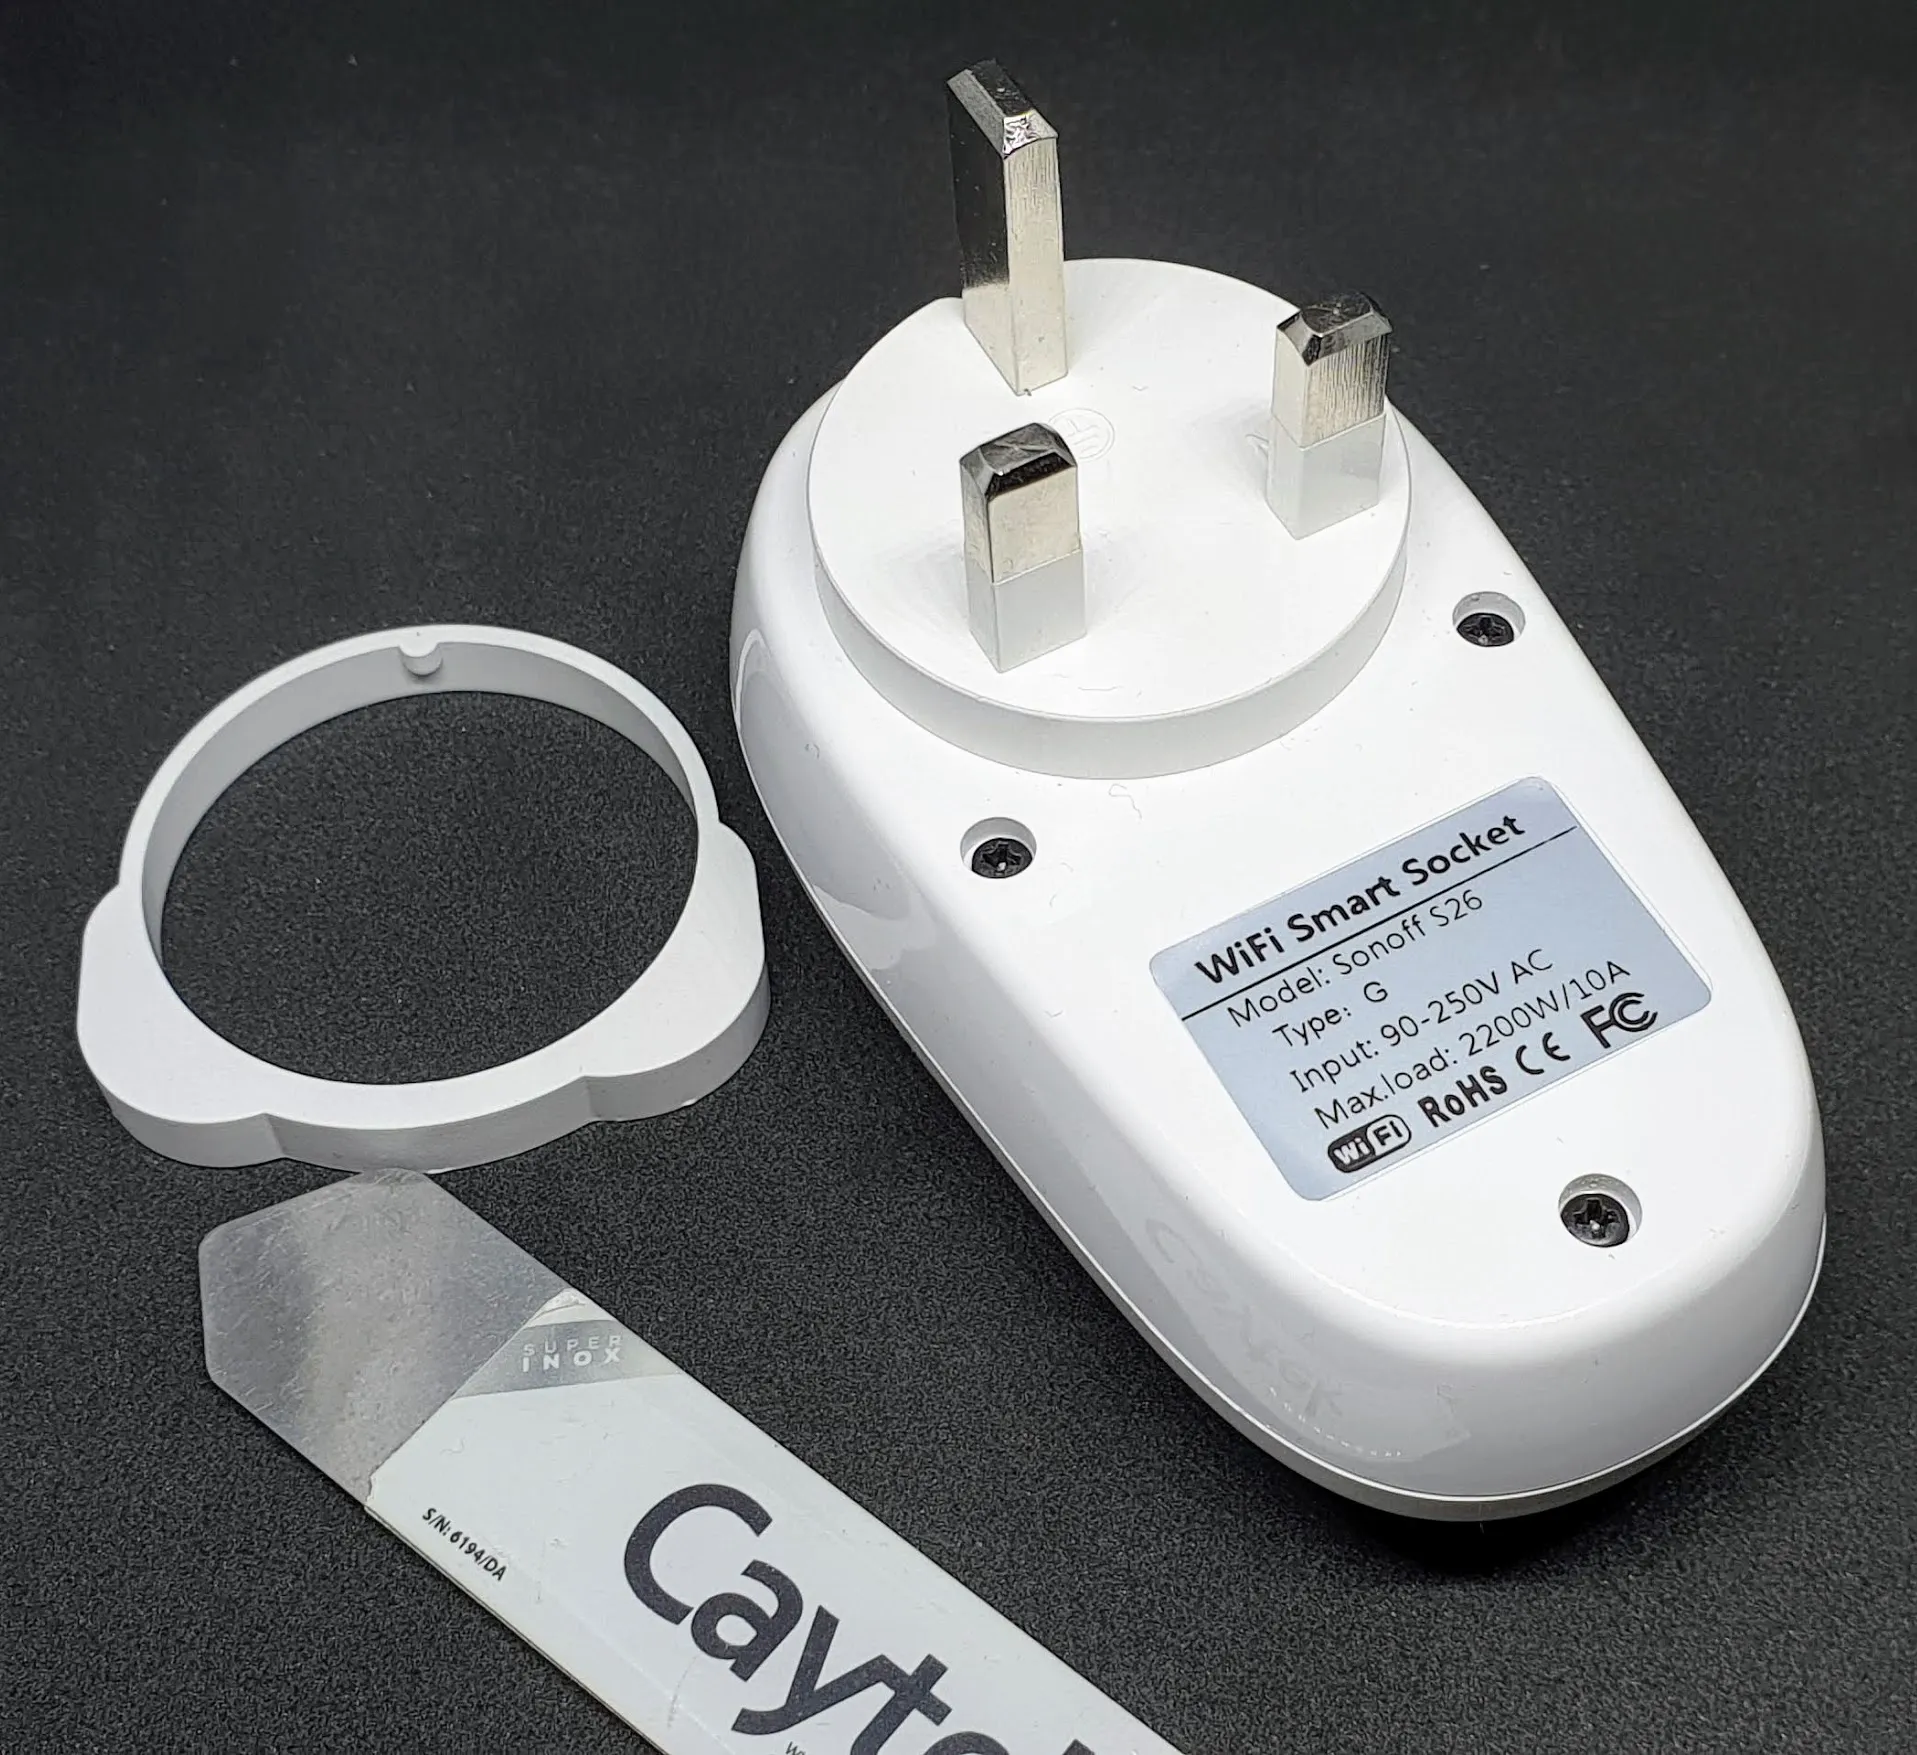
First remove the collar from the plug revealing the Phillips head screws:
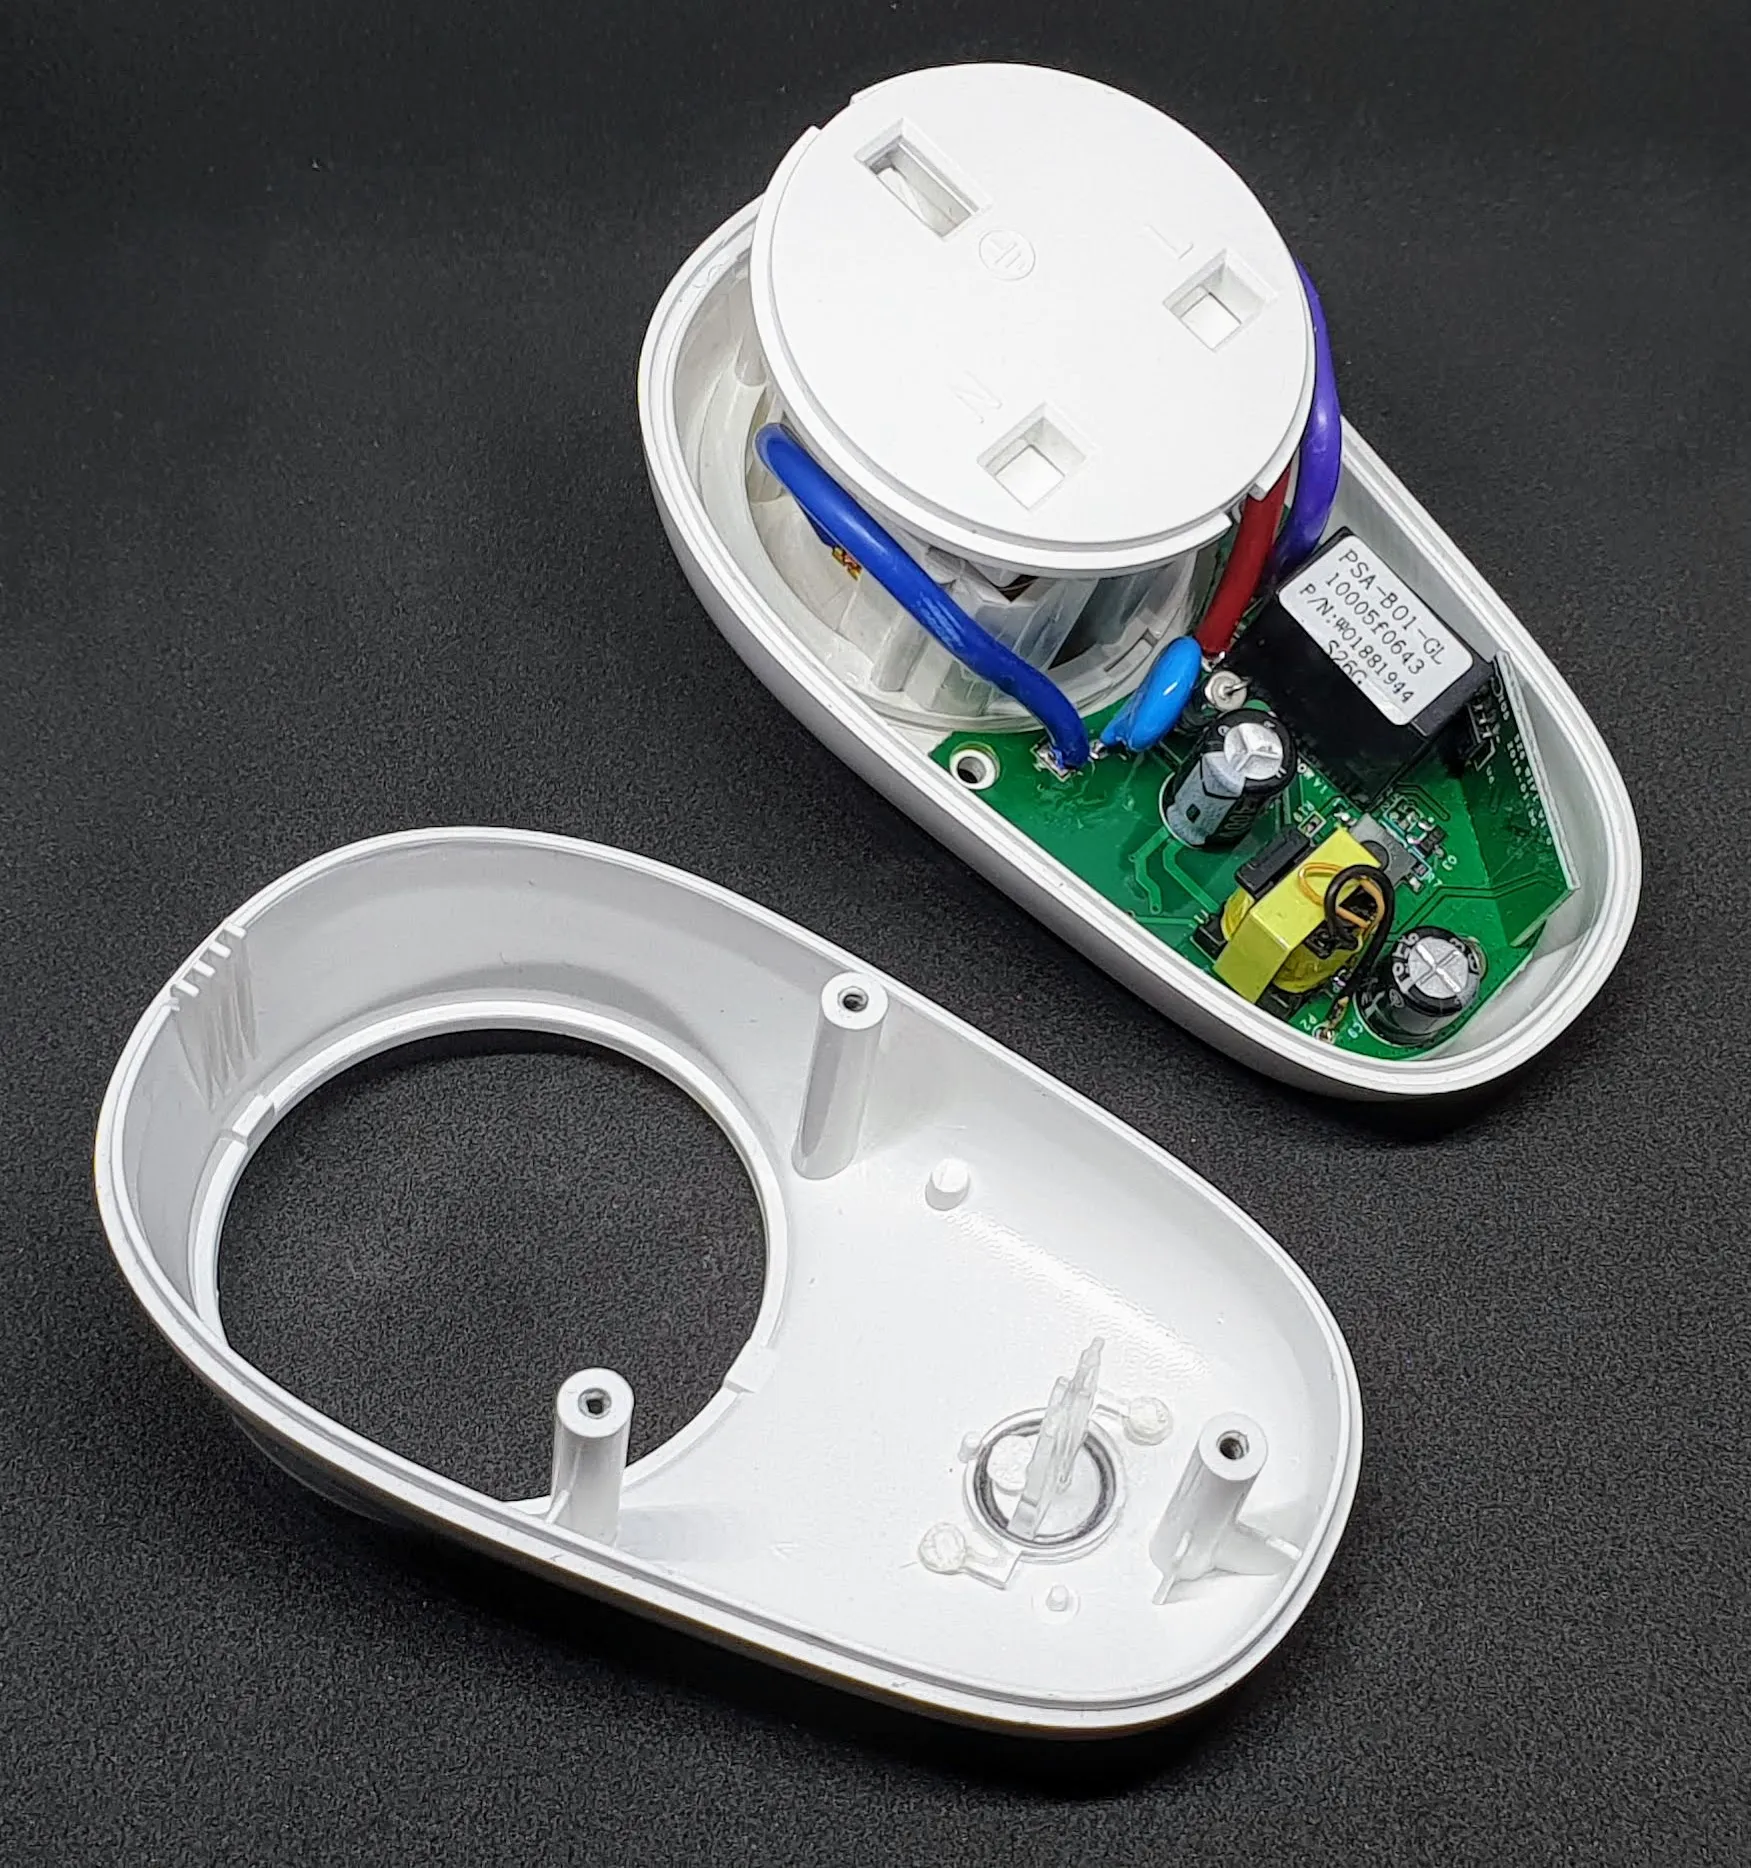
Next remove the 3 Phillips head screws and remove the top half of the case. Note: There is a small clip at the top of the case.
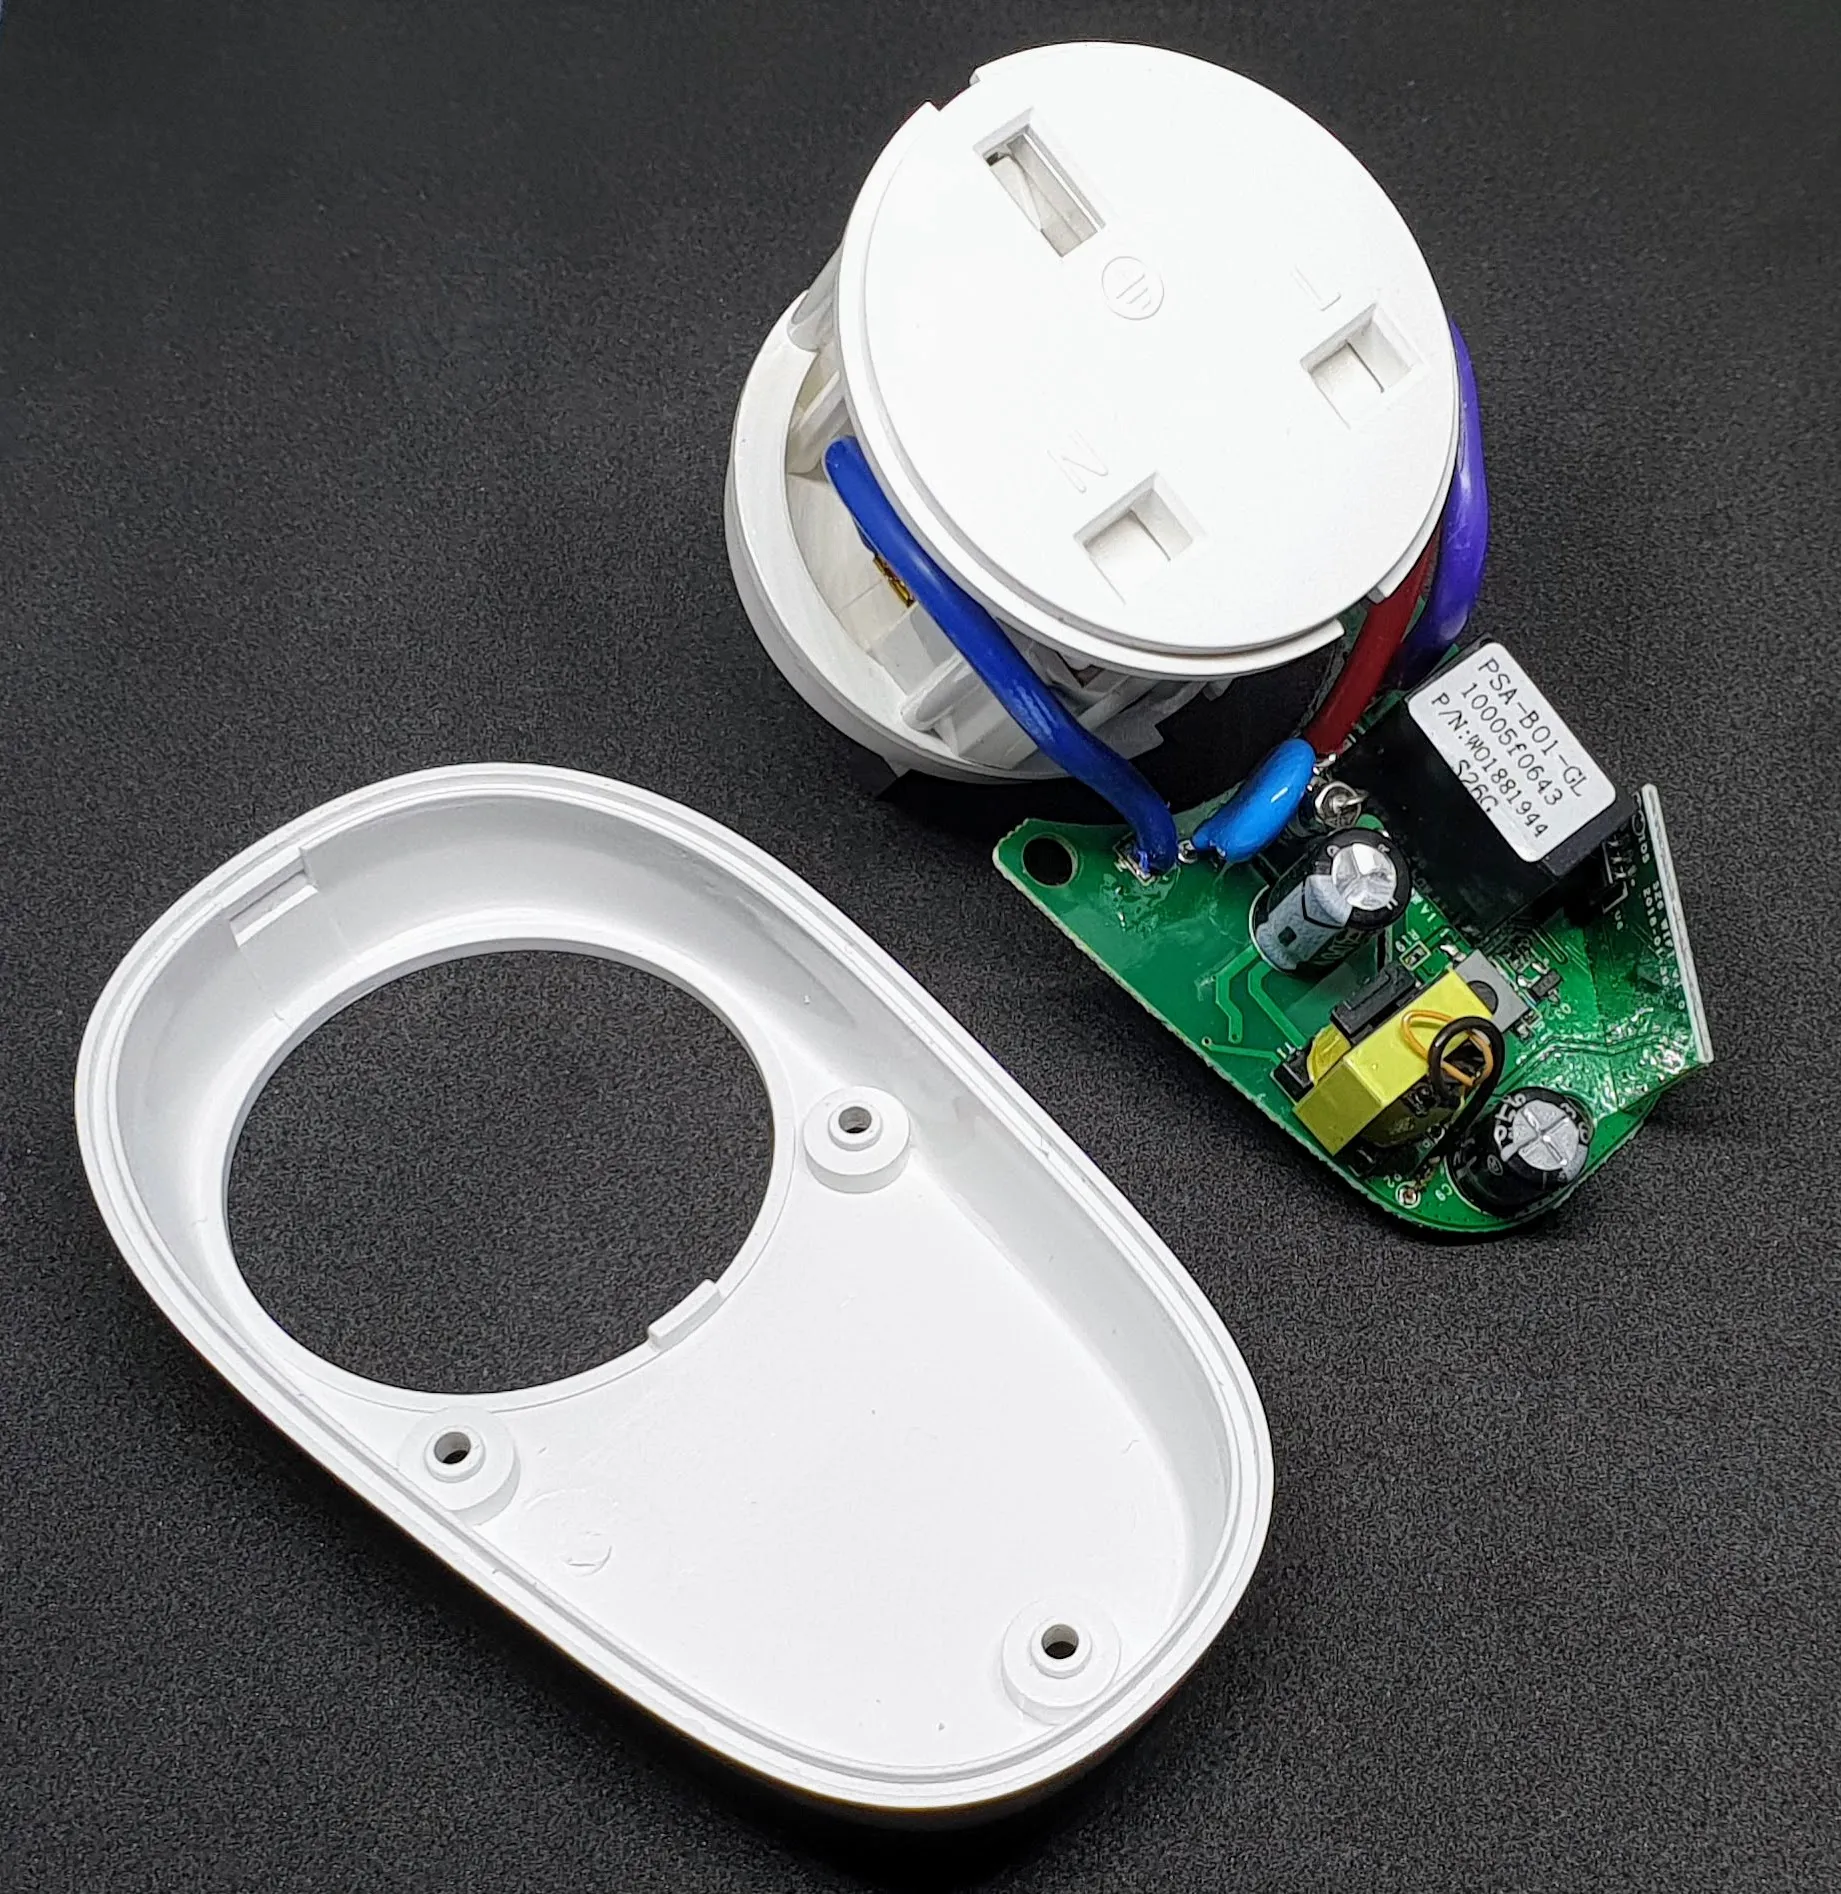
Carefully remove the plug and and PCB from the bottom half of the case.
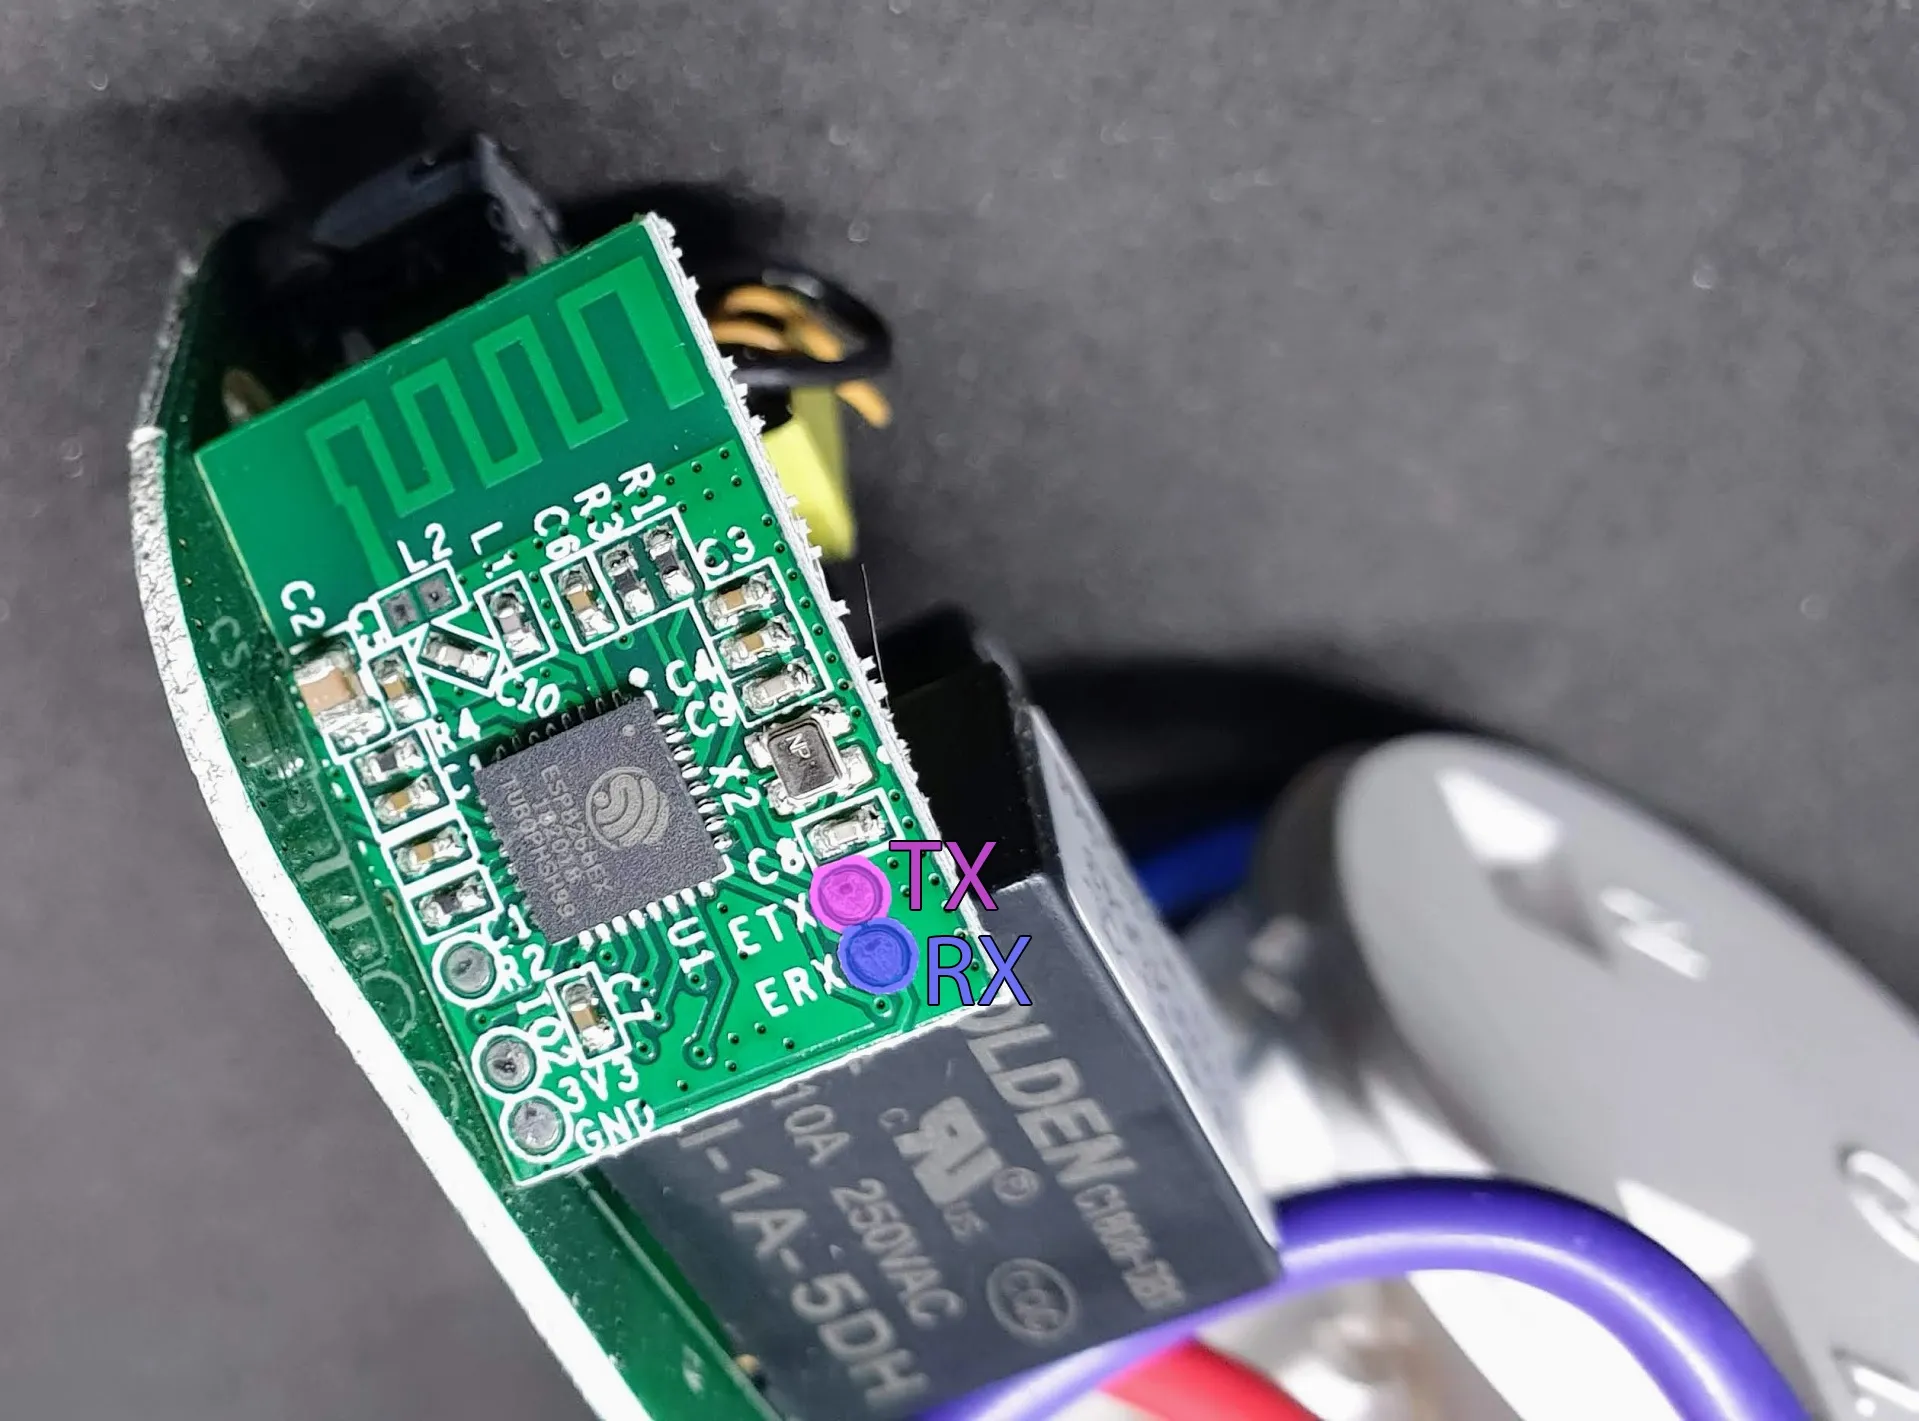
Apply a small blob of solder to both the pads marked ETX and ERX ensuring you do not accidentally bridge them. Next solder your GPIO cables to each pad.
If you are unable to solder these pads you may instead opt to instead manually hold male GPIO cable pins/connectors on the pads.
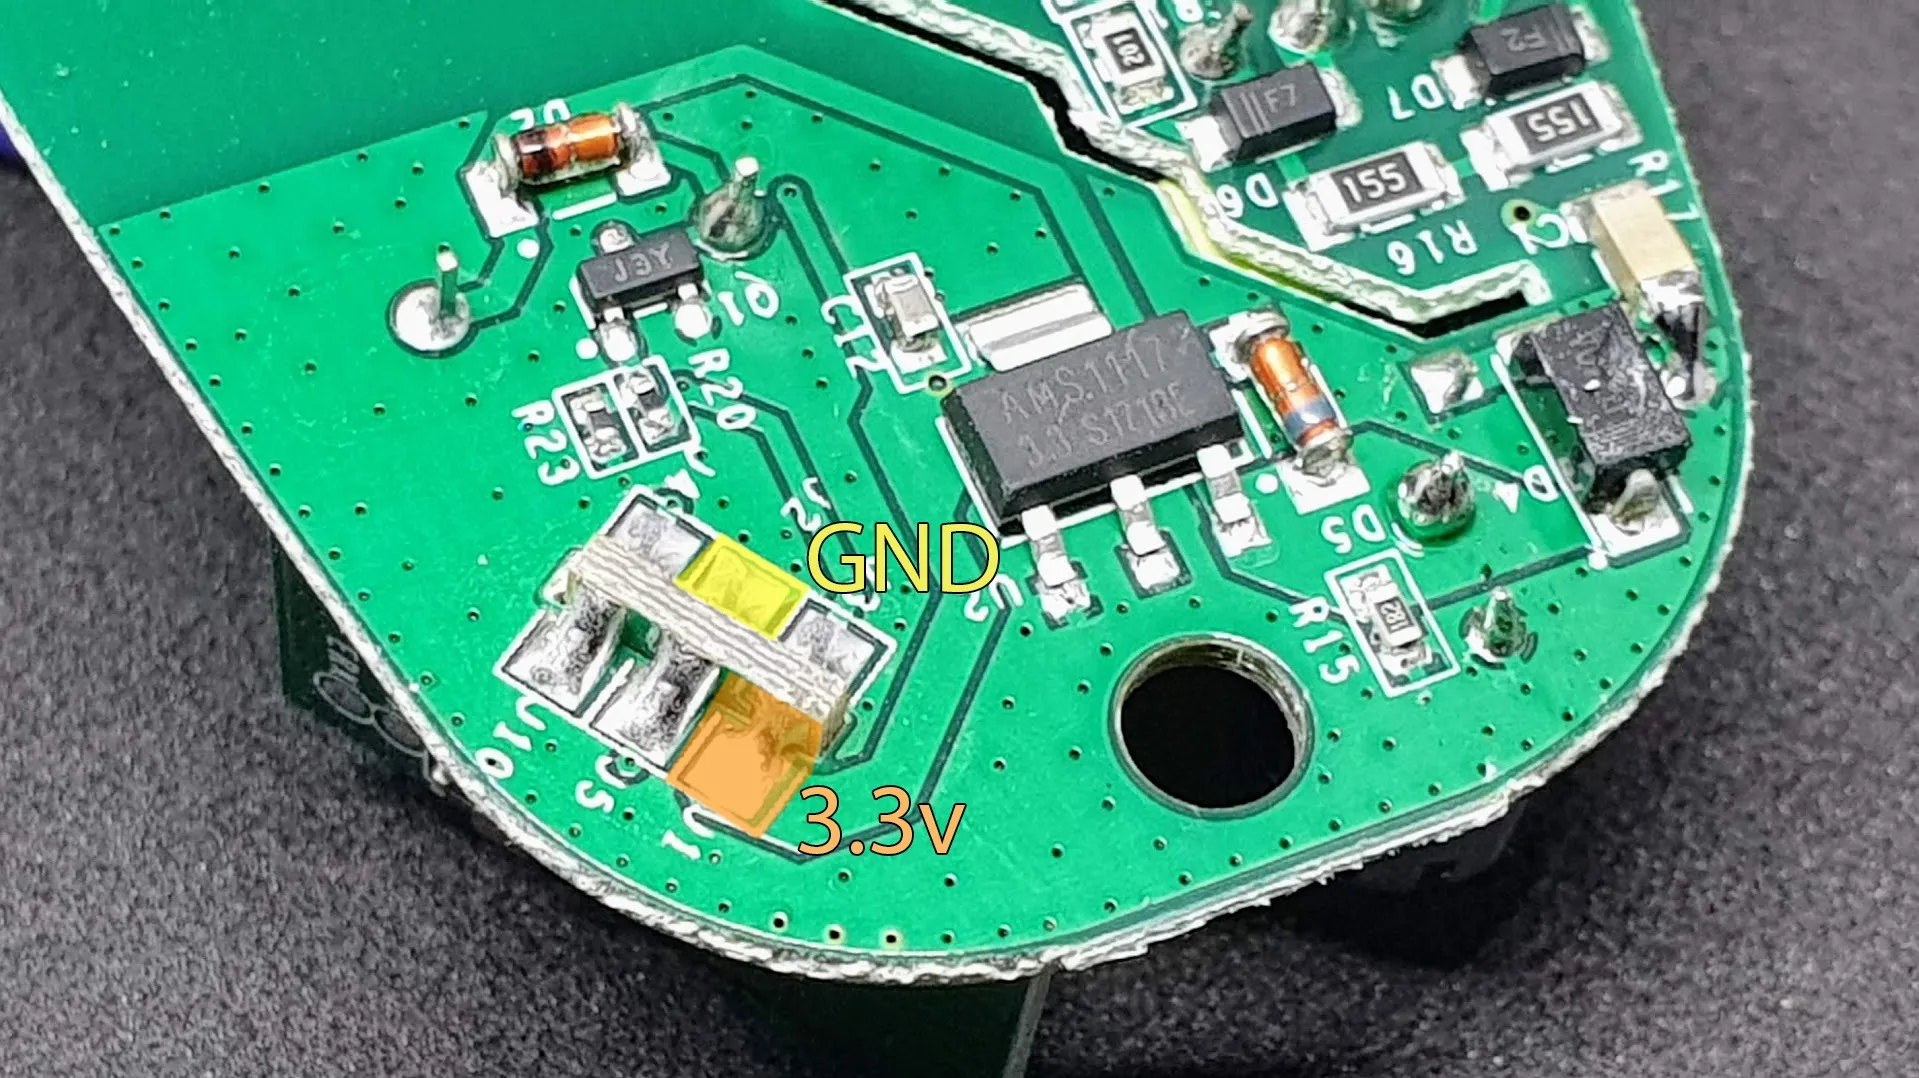
Whilst there are PCB pads for Power (3.3v) and Ground (GND), it is much easier to instead solder to the board connector.
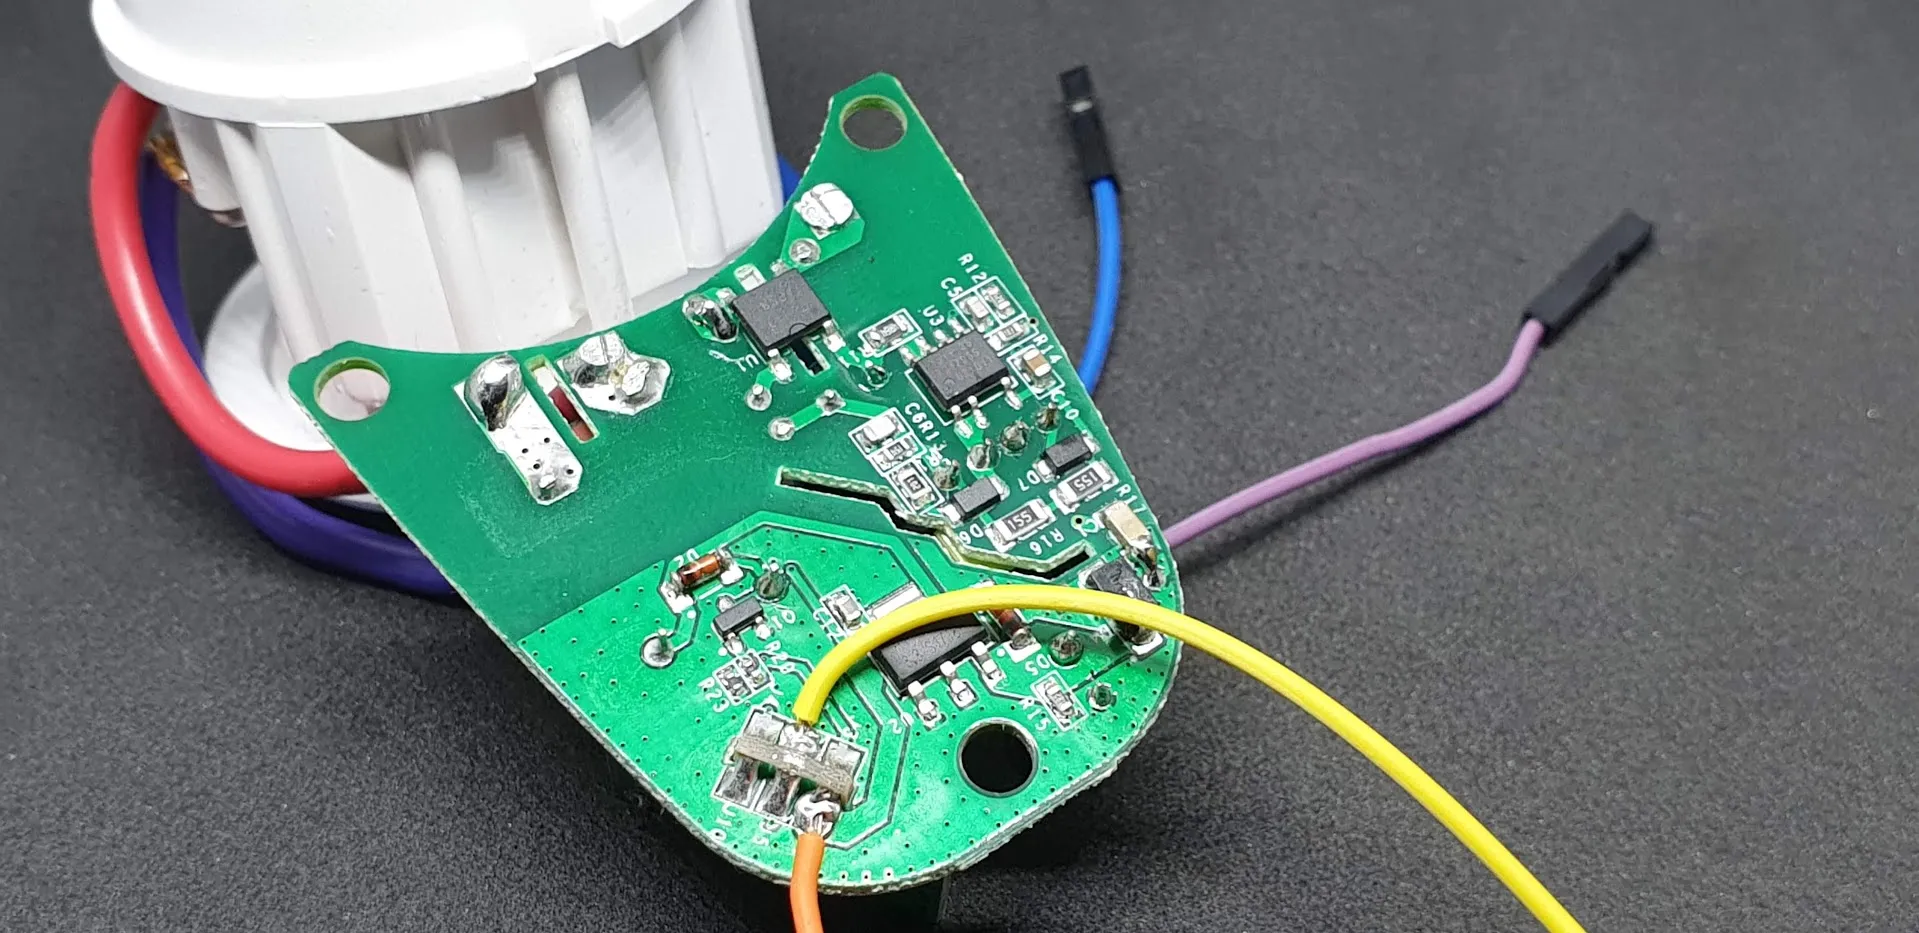
Again repeat the process above, apply some solder to the J1 and J2 connectors, then solder in your GPIO cables.
Once complete, inspect your solder connections to ensure there are no solder bridges and the connections are strong. A loose connection could cause issues when flashing the custom firmware.
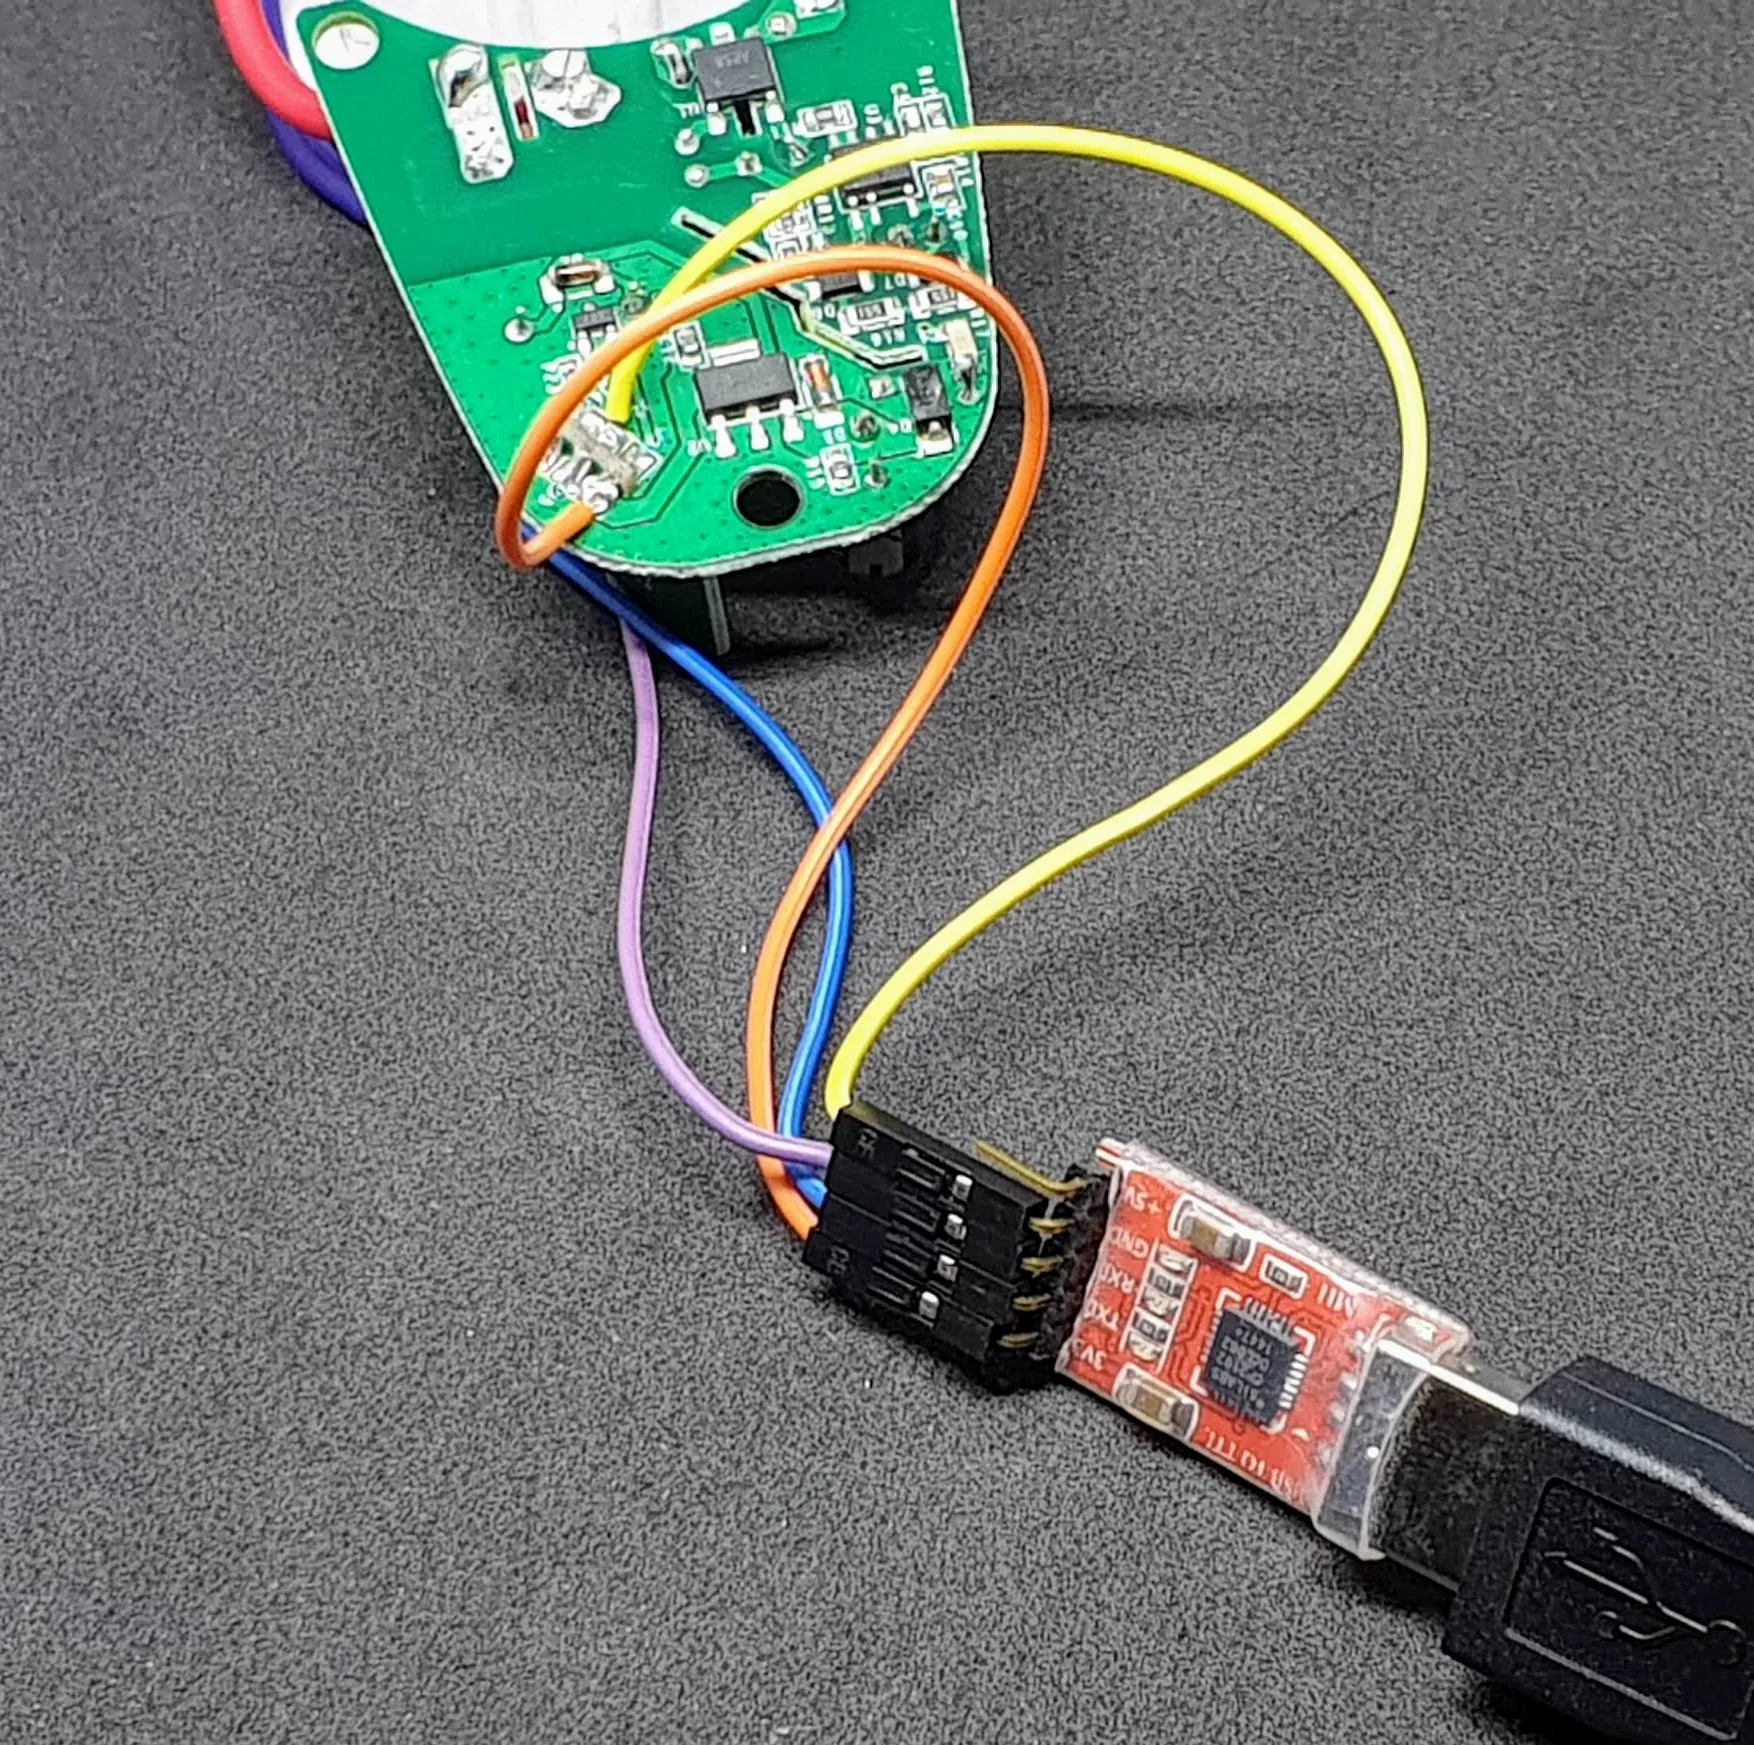
Connect the GPIO cables to your UART/Serial Programmer, not forgetting to connect RX to TX and TX to RX.
To put the S26 into programming mode, hold down the button on the plug then connect your UART/Serial Programmer to your USB port. After a few seconds release the button.
To upload the Tasmota firmware I will be using the free ESPTool.
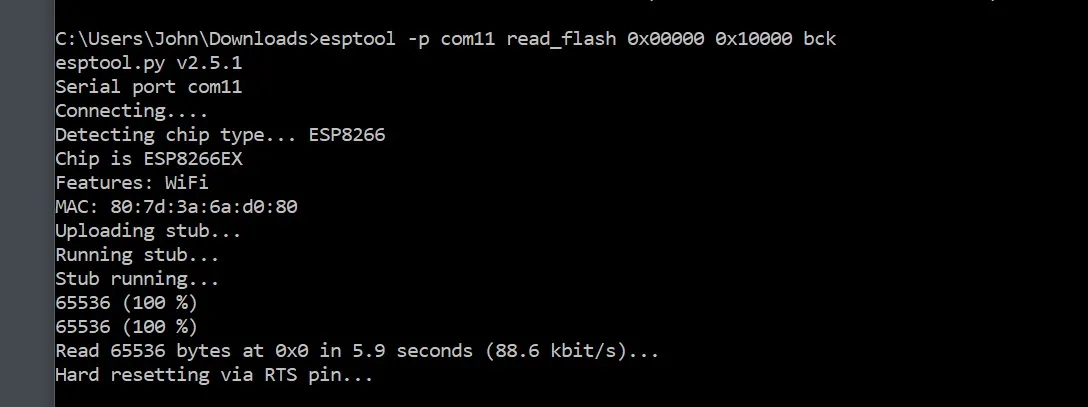
First we will take a backup of our existing firmware just in case we ever want/need to return to it.
1
esptool -p comXX read_flash 0x00000 0x10000 backup.bin
Where comXX is your COM Port number.
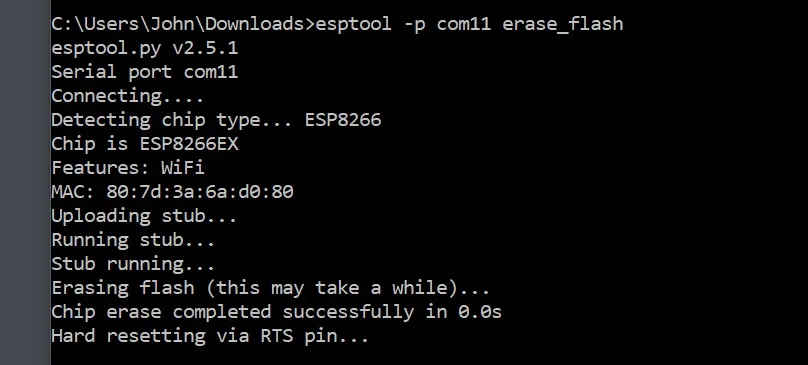
Next we will Erase the contents of the Flash Chip ready to upload the new firmware.
1
esptool -p comXX erase_flash
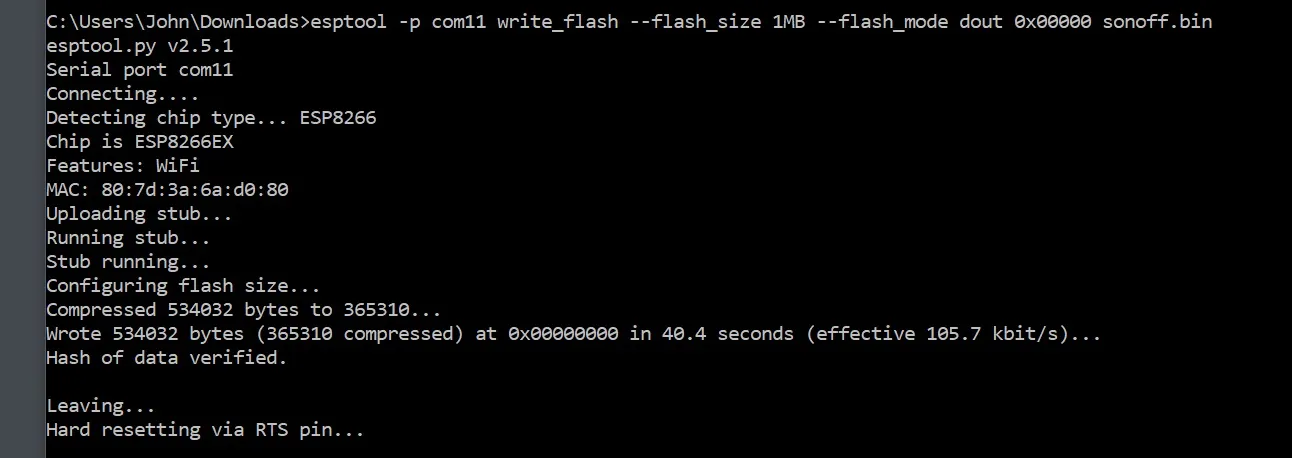
Finally we upload the Sonoff Tasmota firmware
1
esptool -p comXX write_flash --flash_size 1MB --flash_mode dout 0x00000 sonoff.bin
Where sonoff.bin is the filename of your Tasmota firmware.
Now we can desolder the GPIO cables and reassemble the plug.
Once reassembled, plug the S26 into the mains and then press the button 4 times in quick succession. This will the plug into configuration mode.
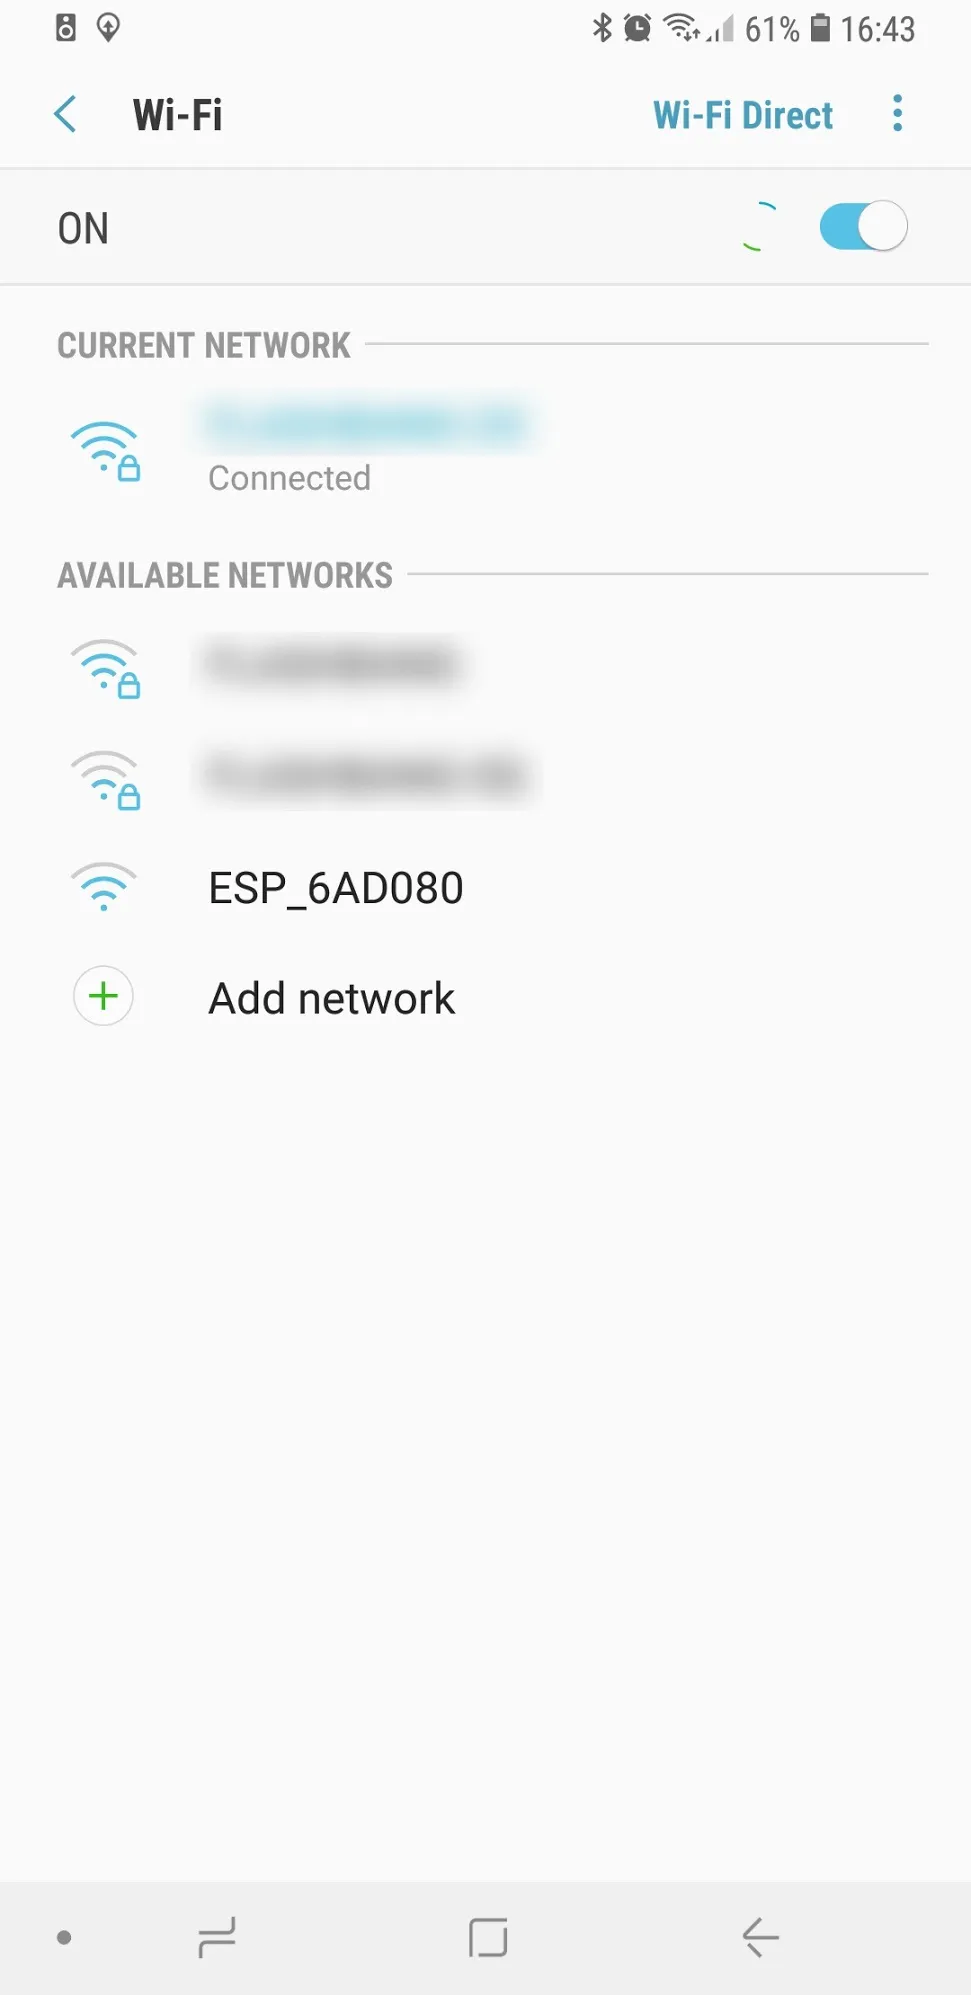
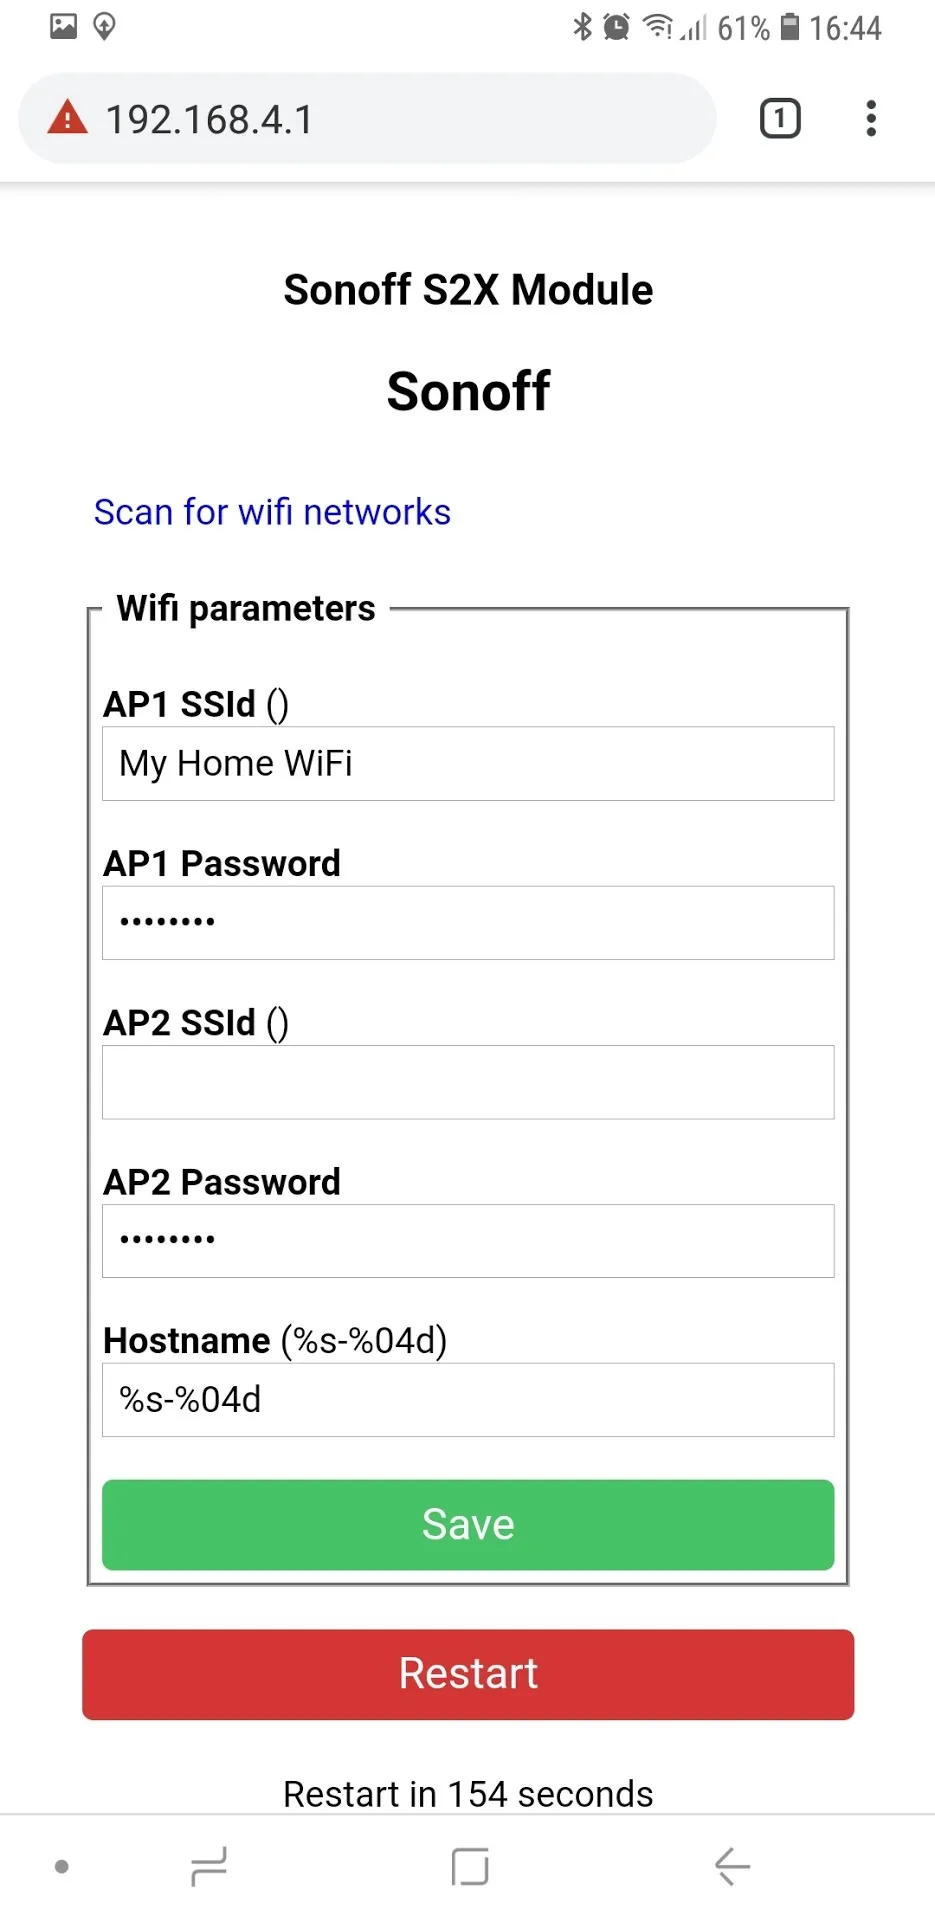
I will use my Smart Phone to complete the rest of the configuration. The plug will create a WiFi Access Point starting ESP_, connect to this.
Once connected, browse to: http://192.168.4.1 This will open up the configuration webpage for the plug. Here you can either press the Scan for wifi networks link, or manually enter your WiFi credentials.
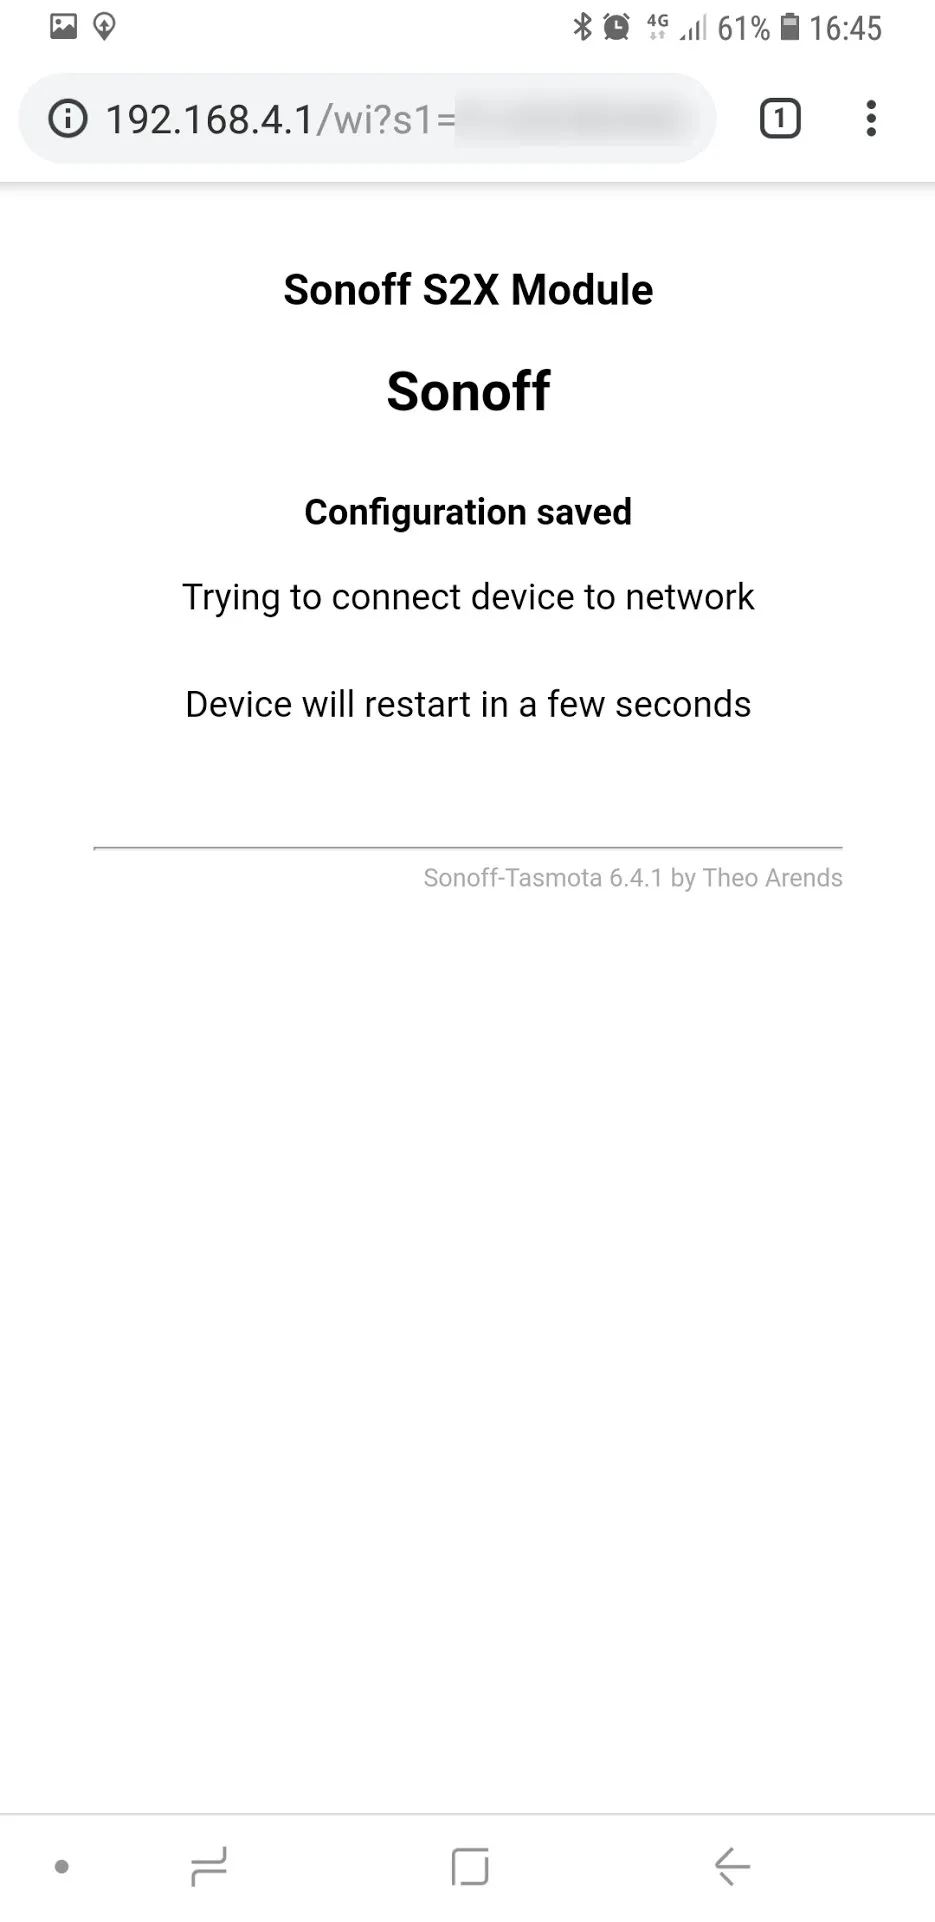
Once done press Save
The Sonoff S26 will then connect to your defined WiFi Network and is then ready for use.
